Starting Seeds Indoors: A Beginner's Guide to Success
Starting Seeds Indoors
Gardening can be an incredibly rewarding hobby, and starting your plants from seeds is a great way to begin. It allows you to get a head start on the growing season, especially in regions with shorter summers.
For those new to gardening, the process of starting seeds indoors might seem daunting, but with a few tips and some basic knowledge, you can set yourself up for a bountiful garden.
Let's dive into some simple steps and golden nuggets of advice to ensure your seed-starting journey is a success.
The items listed are accompanied by affiliate links, meaning I earn a small commission if a purchase is made through my links. This has no impact on the cost to the consumer. I link to products this way whenever possible, and it has no bearing on the products I choose to review or recommend.
Steps to Start Seeds Indoors
1. Choose the Right Seeds
Start with choosing seeds that are known to be easier for beginners. Vegetables like tomatoes, peppers, and lettuce, or flowers like marigolds and sunflowers, are great choices. A general rule of thumb is the bigger the seed the easier it is to grow.
Read the seed packets for specific information about planting depth, spacing, and light requirements. Remember, not all seeds are created equal – some might need more care and attention than others.
2. Gather Your Supplies
You don't need a lot of fancy equipment to start seeds indoors. Discover my simple setup for indoor seed starting and the exact items I used as a beginner.
3. Fill Your Pots
Fill your pots with seed-starting mix. Here are my top picks for seed-starting mixes. It helps if you pre-moisten the soil with water before adding it to the pot.
This allows for better water retention and helps prevent the seeds from being dislodged when watering.
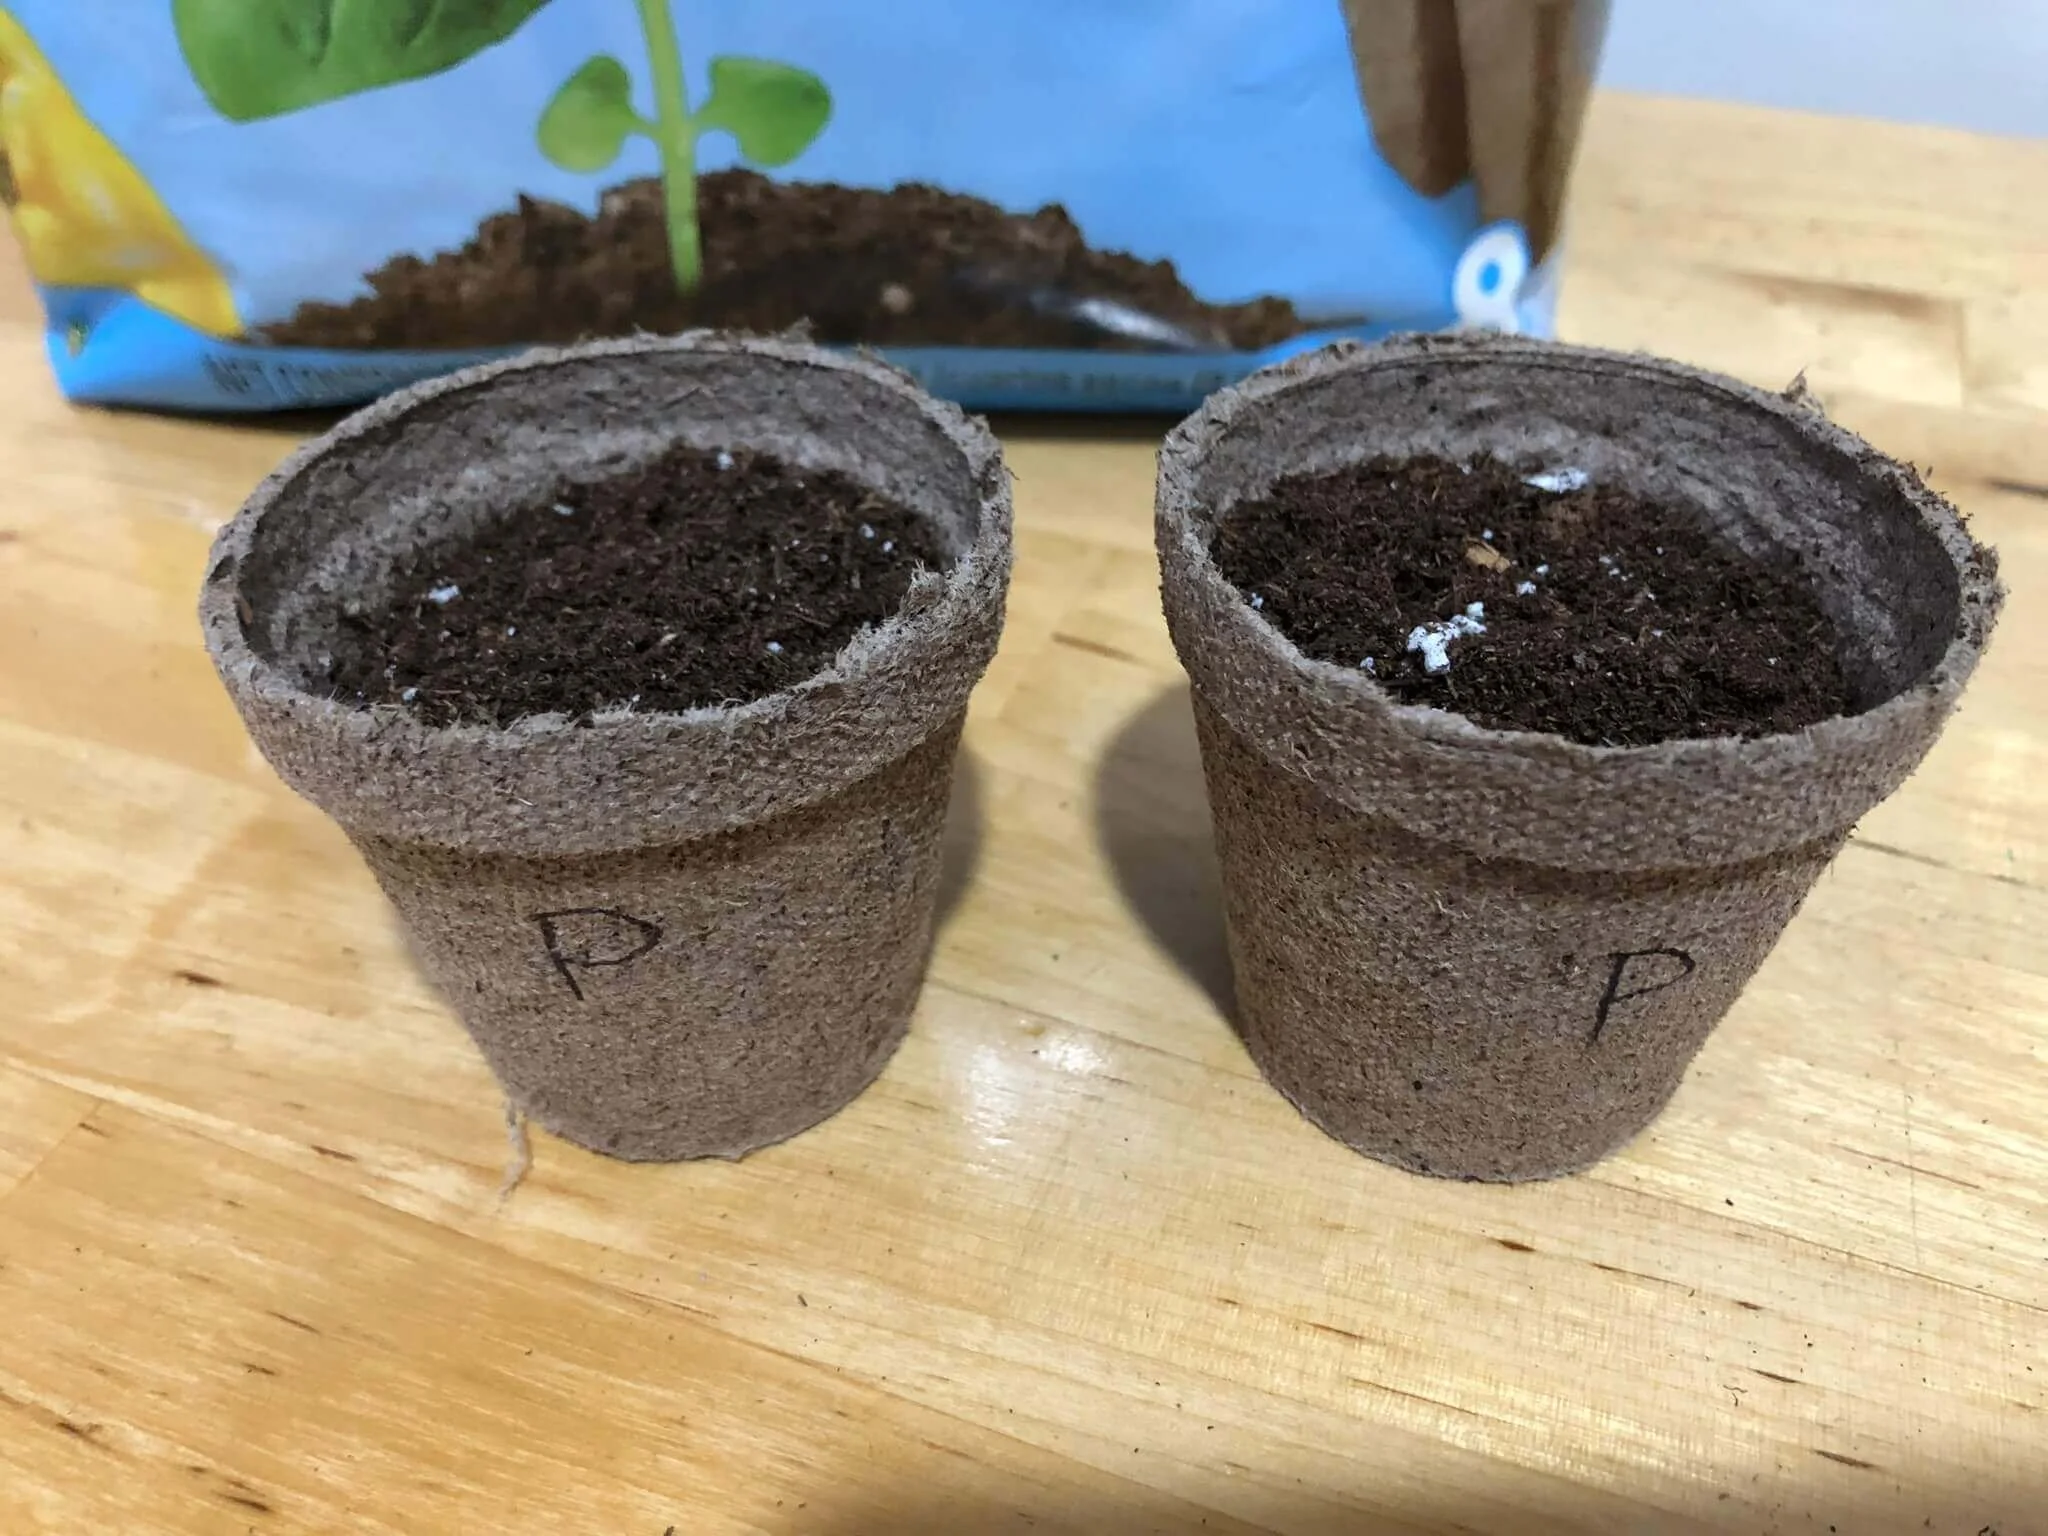
My peat pots are filled with seed-starting mix.
4. Sow Your Seeds
Follow the instructions on the seed packet for how many seeds to sow and for the recommended planting depth. Generally, seeds are planted at a depth of about two times their width.
Cover them with a thin layer of soil and pat them down lightly (unless the specific seeds need light to germinate).
RELATED: Plant Smarter, Not Harder: Starting Cucumber Seeds Indoors the Easy Way
5. Label Your Seeds
If you are growing more than one type of plant, it's essential to label your pots or trays. You can use Popsicle sticks, masking tape, or any other labeling material you have on hand.
This will help you keep track of what is growing where and make it easier to care for each variety.
6. Cover Your Seeds and Provide Warmth
For seeds to germinate, they require soil that is both moist and warm. Gently mist your seeds with water and carefully position them in the seed starter tray, ensuring they are covered with a humidity dome to create the ideal growing environment.
Keep the soil warm, ideally between 65-75°F. You can use a heat mat specifically designed for seed starting if your room temperature is on the cooler side.
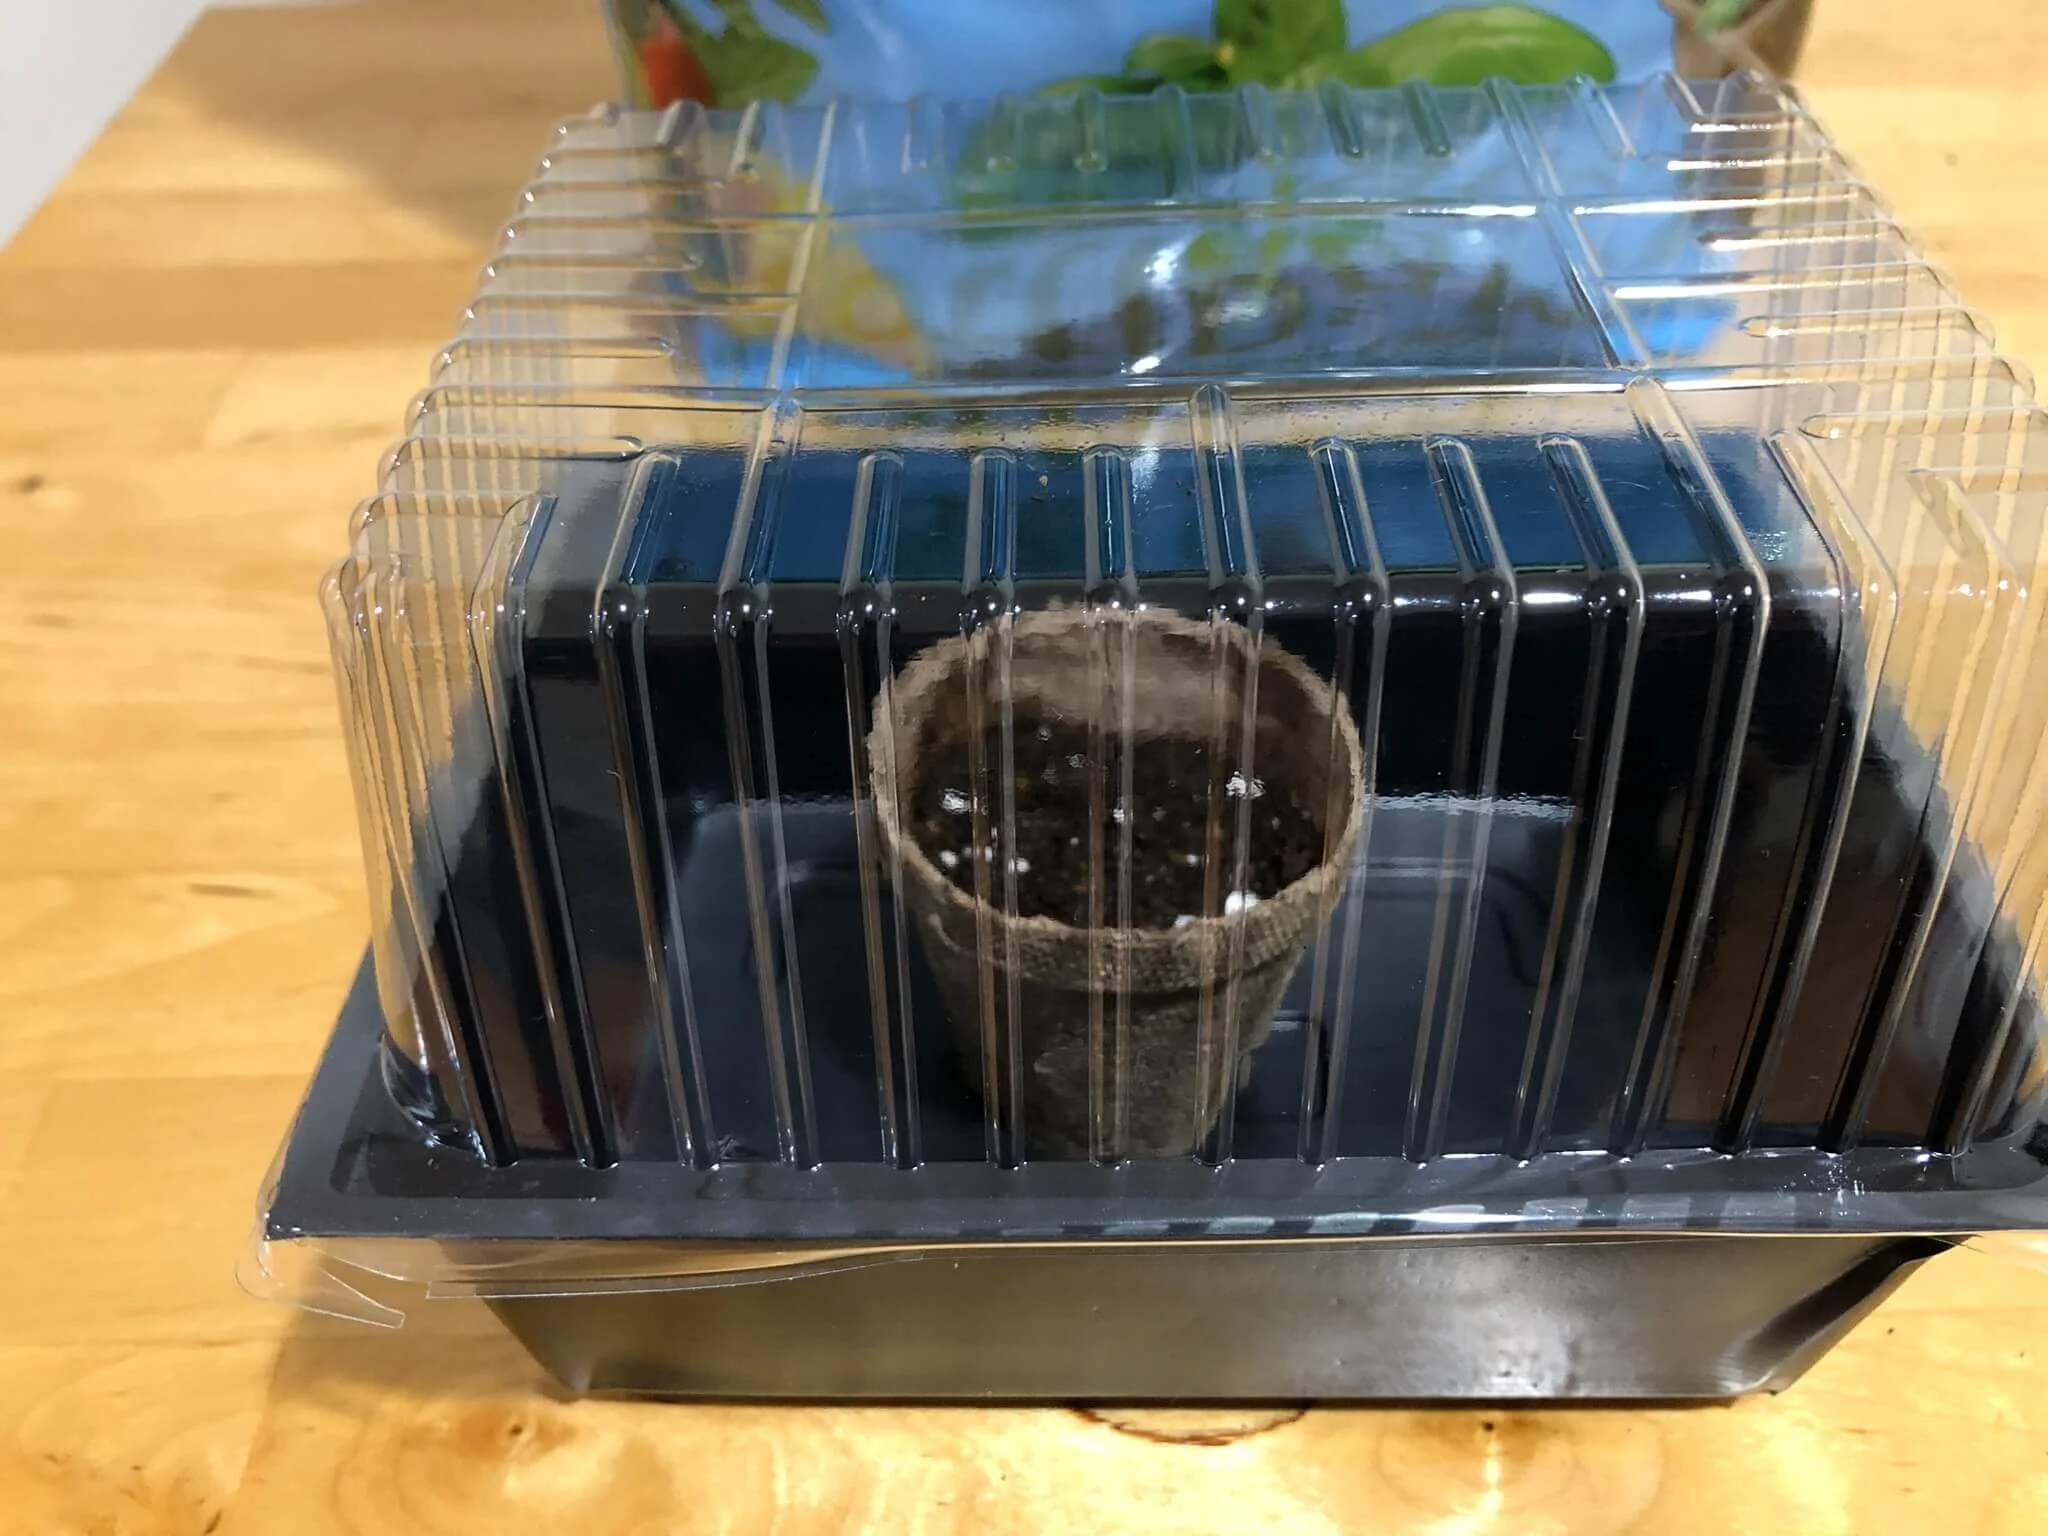
Put your peat pots in the seed starter tray with humidity dome.
7. Patience and Observation
Patience is key in gardening. Some seeds germinate quickly, while others can take several weeks.
Check your seeds daily for signs of growth and to ensure the soil is appropriately moist.
Overwatering is a common mistake – if the soil surface looks wet, skip a day.
RELATED: Cultivate Success: The Ultimate Guide to Growing Parsley Indoors
8. Provide Light
Once your seedlings emerge, they need plenty of light to grow strong and healthy. A sunny windowsill may not be enough light, especially during the winter months.
Consider investing in a grow light and placing your seedlings under lights for 14-16 hours per day.
Keep them close to a light source or they will stretch reaching for the light and get leggy.
Ensure that your seedlings remain adequately moist, without becoming overly saturated.
9. Thin Seedlings
Once your seedlings develop their first set of true leaves (the second set of leaves that appear), it’s time to thin them.
This means removing weaker seedlings to give the stronger ones room to grow.
When seedlings have grown sturdy, you can transplant them into larger pots if needed.
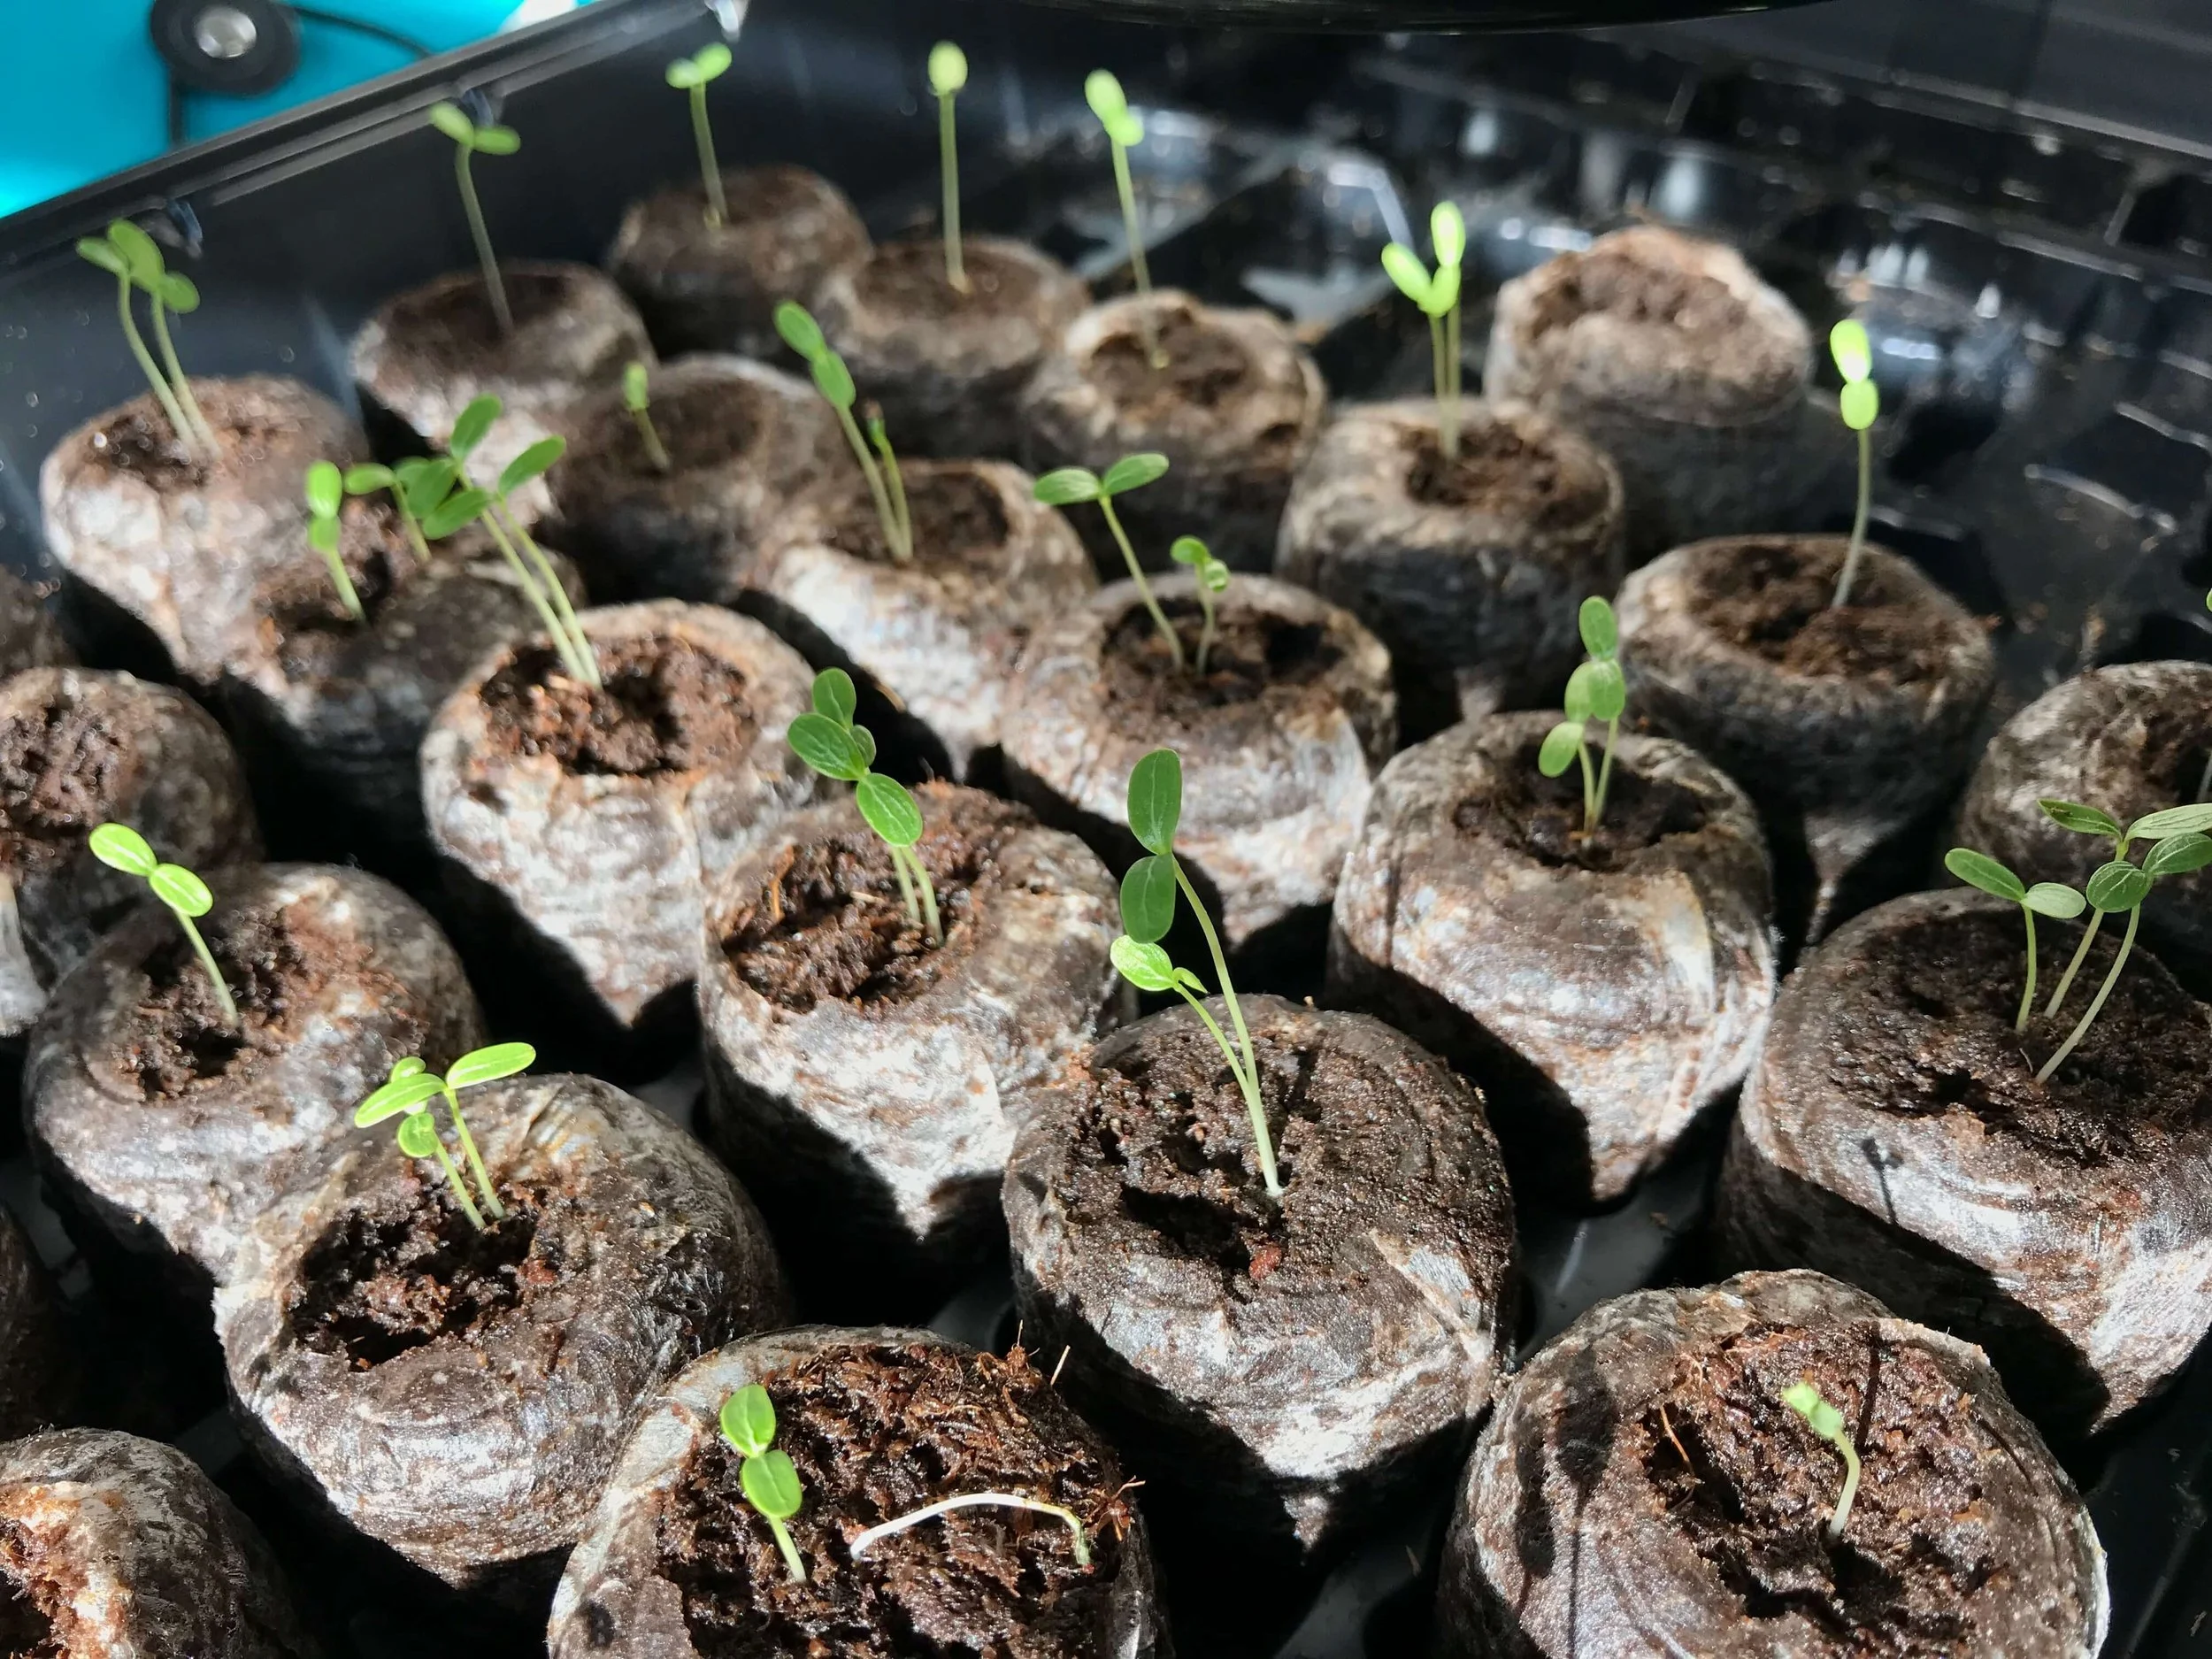
An example of seedlings you would thin out. They are getting too leggy.
10. Hardening Off
Before planting your seedlings outdoors, they need to be acclimated to the outside conditions, a process called “hardening off.”
To ensure the healthy growth of your seedlings, begin by gradually acclimating them to the outdoor environment. Start with a couple of hours of exposure in a shaded area, then progress to partially shaded spots, and eventually to full sun.
Increase the duration of their sun exposure gradually over the course of a week or two.
This gradual transition will help your seedlings adjust to the sunlight, temperature fluctuations, and winds they will experience in the garden.
11. Transplanting Time
Now it is time to transplant your seedlings into their permanent home. Be gentle when handling the seedlings, and always handle them by the leaves, not the stems.
Prepare a hole in the soil that is slightly larger than the root ball of your seedling. Carefully place your seedling in the hole and cover with soil, gently patting it down around the base.
I am transplanting my parsley seedling into a larger pot outdoors where it will be located during the growing season. By using a peat pot I can transfer the entire plant and not have to worry about disturbing delicate roots.
12. Track Your Progress
Keep a record of your seed-starting process and take notes on where you can make improvements for the next season.
Remember, gardening is a learning process filled with trials and errors. Don’t be discouraged if everything doesn’t go perfectly the first time. Each mistake is an opportunity to learn and grow as a gardener.
Starting seeds indoors is a fantastic way to kick-start your garden. By following these simple steps and being patient, you'll be well on your way to a thriving garden.
Enjoy the process and the satisfaction that comes with growing plants from the very beginning. It is very rewarding!
Pin it for Later!
If you have any questions, feel free to leave them in the comments section below!


