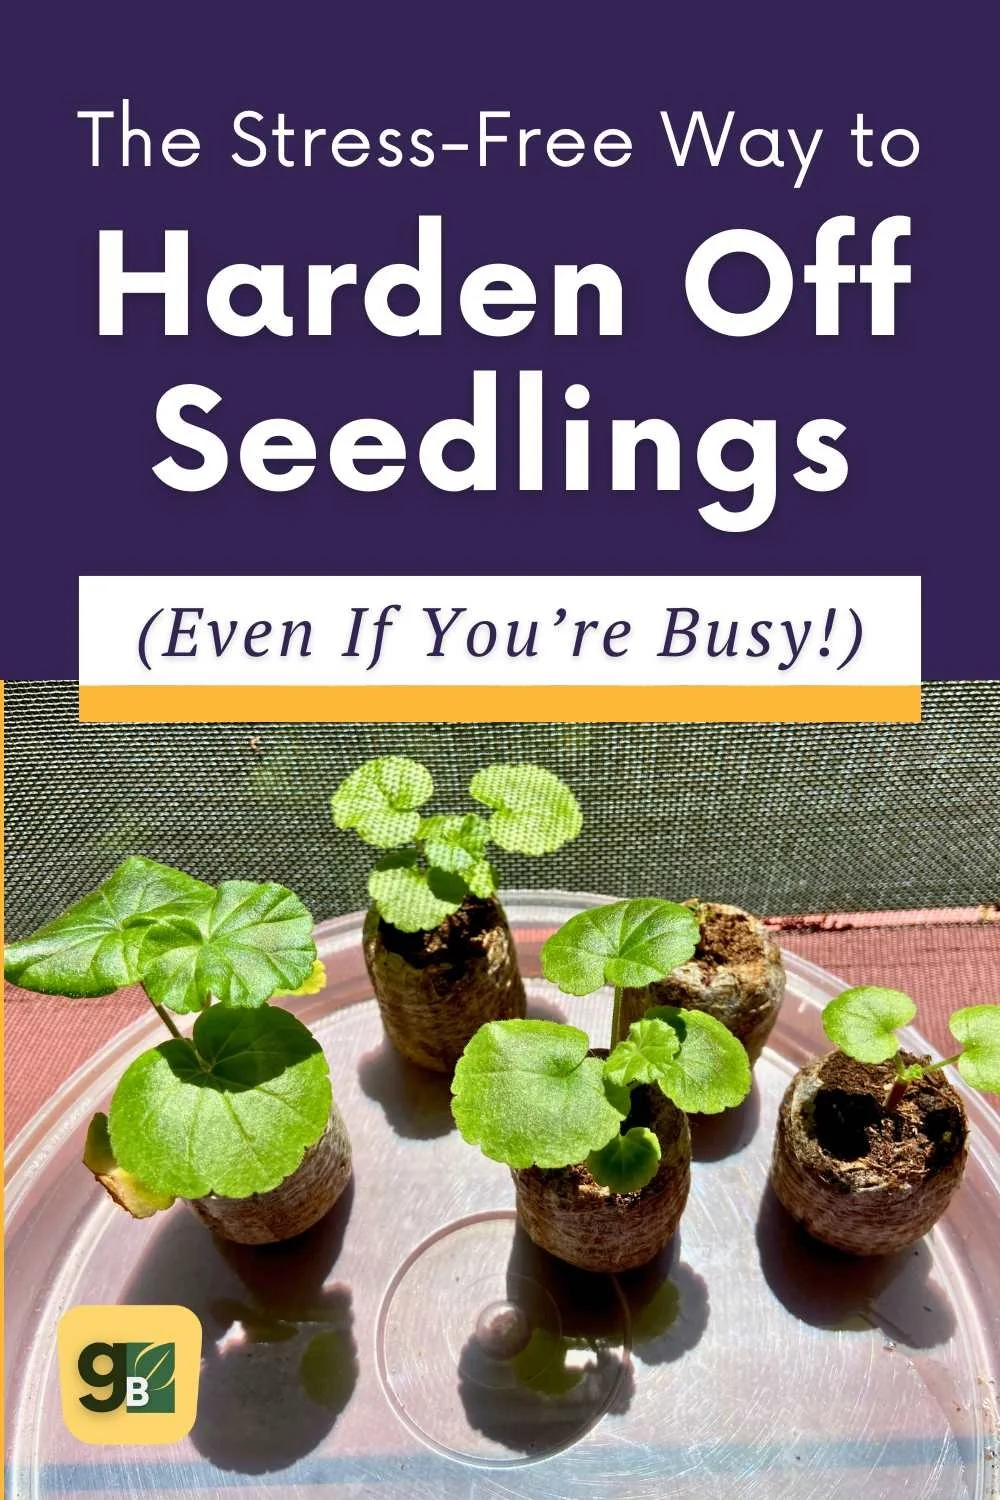
How to Harden off Seedlings with Limited Time

Hardening Off Seedlings
If you are a gardener who's only around on the weekends, you might wonder how to harden off your seedlings without being there to monitor them during the week.
Fear not!
With a bit of creativity and planning, you can still successfully acclimate your plants to the great outdoors and ensure your plants transition smoothly from the cozy indoors to your garden, all within the constraints of a busy schedule.
Today, I'd like to introduce a method for seed hardening, a vital process for us weekend warrior gardeners with limited time.
The items listed above are accompanied by affiliate links, meaning I earn a small commission if a purchase is made through my links. This has no impact on the cost to the consumer. I link to products this way whenever possible, and it has no bearing on the products I choose to review or recommend.
Step 1: Indoor Preparation
Before taking your seedlings outside, start preparing them indoors. The concept behind hardening off seeds is to get them ready for outdoor conditions, particularly the sun, wind, and temperature changes.
If you aren't already using a fan then a week before your planned outdoor introduction, set up a fan near your seedlings to simulate a gentle breeze.
This helps strengthen their stems and prepares them for the outdoor wind. Keep the fan on for a few hours each day, ensuring it's not too strong to avoid damaging the young plants.
Step 2: Weekend Introduction
Start the hardening-off process on a Saturday morning. Place your seedlings outside in a sheltered, semi-shaded spot that's protected from strong winds and direct sunlight for 1-2 hours.
A semi-shaded area, like a covered porch or under a tree, is the perfect spot. This brief exposure will give them a taste of the outdoor environment without overwhelming them.
Step 3: Incremental Increase
On Sunday, extend their outdoor time by an additional hour or two, continuing to keep them in a protected area.
This gradual increase helps them adjust to the new conditions. Keep an eye on the weather forecast, and avoid exposing them to extreme conditions.
The goal is to slowly toughen them up, not to shock them. Remember, they've been living the greenhouse life, and we need to ease them into the real world.
Step 4: Create a Microclimate
Since you won't be around during the weekdays, consider creating a microclimate that mimics outdoor conditions but offers some protection.
A cold frame or a mini greenhouse can be ideal for this. Place your seedlings inside for the week, ensuring they have ventilation and are not in direct sunlight, which could overheat them.
Keep an eye on watering: During the hardening off process, your seedlings may need more frequent watering as they get used to the drier outdoor air. Make sure to check the soil regularly and water as needed.
Step 5: Weekend Progress Check
When the next weekend rolls around, check on your seedlings. As you increase their outdoor time, keep a close eye on your seedlings.
If you notice any wilting or signs of sunburn, bring them back inside for a bit of TLC. It's all about listening to your plants and adjusting accordingly.
If they've fared well in the microclimate, start increasing their exposure to direct sunlight and outdoor air gradually over the weekend.
Step 6: Gradual Weekday Exposure
As your seedlings become more acclimated, you can start leaving the cold frame or mini greenhouse open during the day to increase exposure to the elements. Close it up at night or if harsh weather is forecasted.
Step 7: The Final Weekend
After a couple of weekends of this routine, your seedlings should be ready for more extended periods outside. Use the final weekend to give them full-day exposure, and if all goes well, they should be ready to transplant into your garden.
Step 8: Transplanting Tips
Once your seedlings are fully hardened off, they're ready for transplanting. Choose a cloudy day or late afternoon to transplant, as this will help reduce the shock of moving to a new environment.
Make sure to water your seedlings thoroughly after transplanting to help them settle into their new home.
Step 9: Post-Transplant Care
After transplanting, keep a close eye on your seedlings for the first week or so. They may need extra water and protection from strong sun or heavy rain as they adjust to their new surroundings.
Consider using a light mulch to help retain soil moisture and regulate temperature.
Frequently Asked Questions About Hardening off Seedlings
Q: How long does the hardening-off process take?
A: The process typically takes about two weeks, but it can vary depending on your local climate and the specific needs of your plants.
Q: Can I harden off seedlings if I don't have a cold frame or mini greenhouse?
A: Yes! You can use other protective structures like a cloche or even a plastic storage bin with ventilation holes. Alternatively, you can bring your seedlings in and out of your home each day, but this requires more daily attention.
Q: What if I miss a day of hardening off?
A: Missing a day isn't ideal, but it's not a disaster. Just continue with the process as planned, and try to stay as consistent as possible.
Hardening off your seedlings with a weekend-only schedule might require a bit more planning, but it's entirely possible. With patience and attention, your plants will be ready to thrive in their new outdoor home.
Pin it for Later!