Storing Seeds for Next Year: Secrets to Success

Storing Seeds
Post Updated 1/8/26
I’ve learned that the key to a thriving garden next season often starts at the end of this one. Storing seeds isn’t just about keeping a part of your garden alive for next year—it’s about ensuring you have the varieties you love and trust, while also saving money.
Let me share some secrets and insights with you so your seeds—and your garden—are just as ready as you are when spring rolls around and seed starting is on your mind
I received this product for free from Metcry. The items listed are accompanied by affiliate links, meaning I earn a small commission if a purchase is made through my links. This has no impact on the cost to the consumer. I link to products this way whenever possible, and it has no bearing on the products I choose to review or recommend.
Why You Should Save and Store Seeds
Ever fallen in love with a particular tomato or zinnia and then couldn’t find it at the garden center the next year?
When you save seeds, you ensure that your favorite variety is always available. No more hunting through catalogs or driving from garden center to garden center, hoping to find that one type you adore. You’ve got it right at home, ready to plant when the time comes. It’s like having a personal backup of your garden’s greatest hits.
Gardening can be an expensive hobby, especially when you’re buying new seeds every year. By storing seeds from your current garden, you’re not just preserving your favorite plants—you’re also saving money. Those few dollars you save on seed packets add up, and before you know it, you’ll have a little extra in your budget for other gardening goodies like new tools, soil amendments, or even that decorative pot you’ve been eyeing.
Another often-overlooked benefit of saving your seeds is that they come from plants that have already thrived in your specific garden conditions. These seeds are already adapted to your local climate, soil, and growing conditions, giving them a better chance to succeed next season. It’s a subtle advantage, but one that can make a big difference in the health and productivity of your garden.
Pin It for Later>>


How to Properly Store Your Seeds for Maximum Longevity
Now that you know why saving seeds is such a smart idea, let’s dive into how to actually do it right. Proper seed storage is all about ensuring the seeds stay dry, airtight, and labeled, so they’re ready to plant when you are. Here's how you can do it like a pro.
The Importance of Airtight Containers
Now, let’s get into the nitty-gritty of seed storage. First things first—your seeds need to be stored in an airtight container. Why? Because moisture is your enemy. Even the smallest amount can cause your seeds to mold, rot, or prematurely sprout.
Glass jars with tight-fitting lids are a fantastic option. I’ve found that mason jars work beautifully, but you can also use recycled jars from the kitchen—just make sure they’re bone dry before storing seeds.
If you prefer something lighter, those sturdy plastic containers with snap-on lids or even resealable bags are solid choices. Whatever you choose, just remember: airtight is the goal.
Dry Seeds Are Happy Seeds
Before you even think about tucking those seeds away, they need to be completely dry. And I mean completely. Any lingering moisture can spell disaster in storage.
Spread your seeds out on a paper towel or a fine mesh screen and let them air dry for a week or so. You’ll know they’re ready when they feel hard to the touch and resist any attempt to bend.
If you’re in a hurry, a silica gel packet (the kind you find in shoe boxes) can help draw out any remaining moisture, but natural drying is always best if you have the time.
Labeling
Now that your seeds are dry and tucked away in their airtight homes, don’t forget to label them. Trust me, there’s nothing more frustrating than forgetting what’s what when you’re ready to plant.
A simple label with the variety and the date you collected the seeds will do wonders for your sanity. I like to use a fine-tip permanent marker on a piece of masking tape—it’s durable and easy to read. If you’re feeling fancy, you can print out labels or use a label maker, but the key here is clarity and accuracy.
Storing in the Right Conditions
Once your seeds are packed and labeled, store them in a cool, dark place. I’ve found that a basement or a refrigerator works well, as long as it stays consistently cool. The ideal temperature is around 40 degrees Fahrenheit (4 degrees Celsius). Consistency is key—fluctuations in temperature can cause condensation inside your container, and remember, moisture is your enemy!
As a final tip, toss in a packet of silica gel or a few grains of uncooked rice with your seeds to absorb any sneaky moisture that might find its way in. It’s a small step that adds an extra layer of protection.
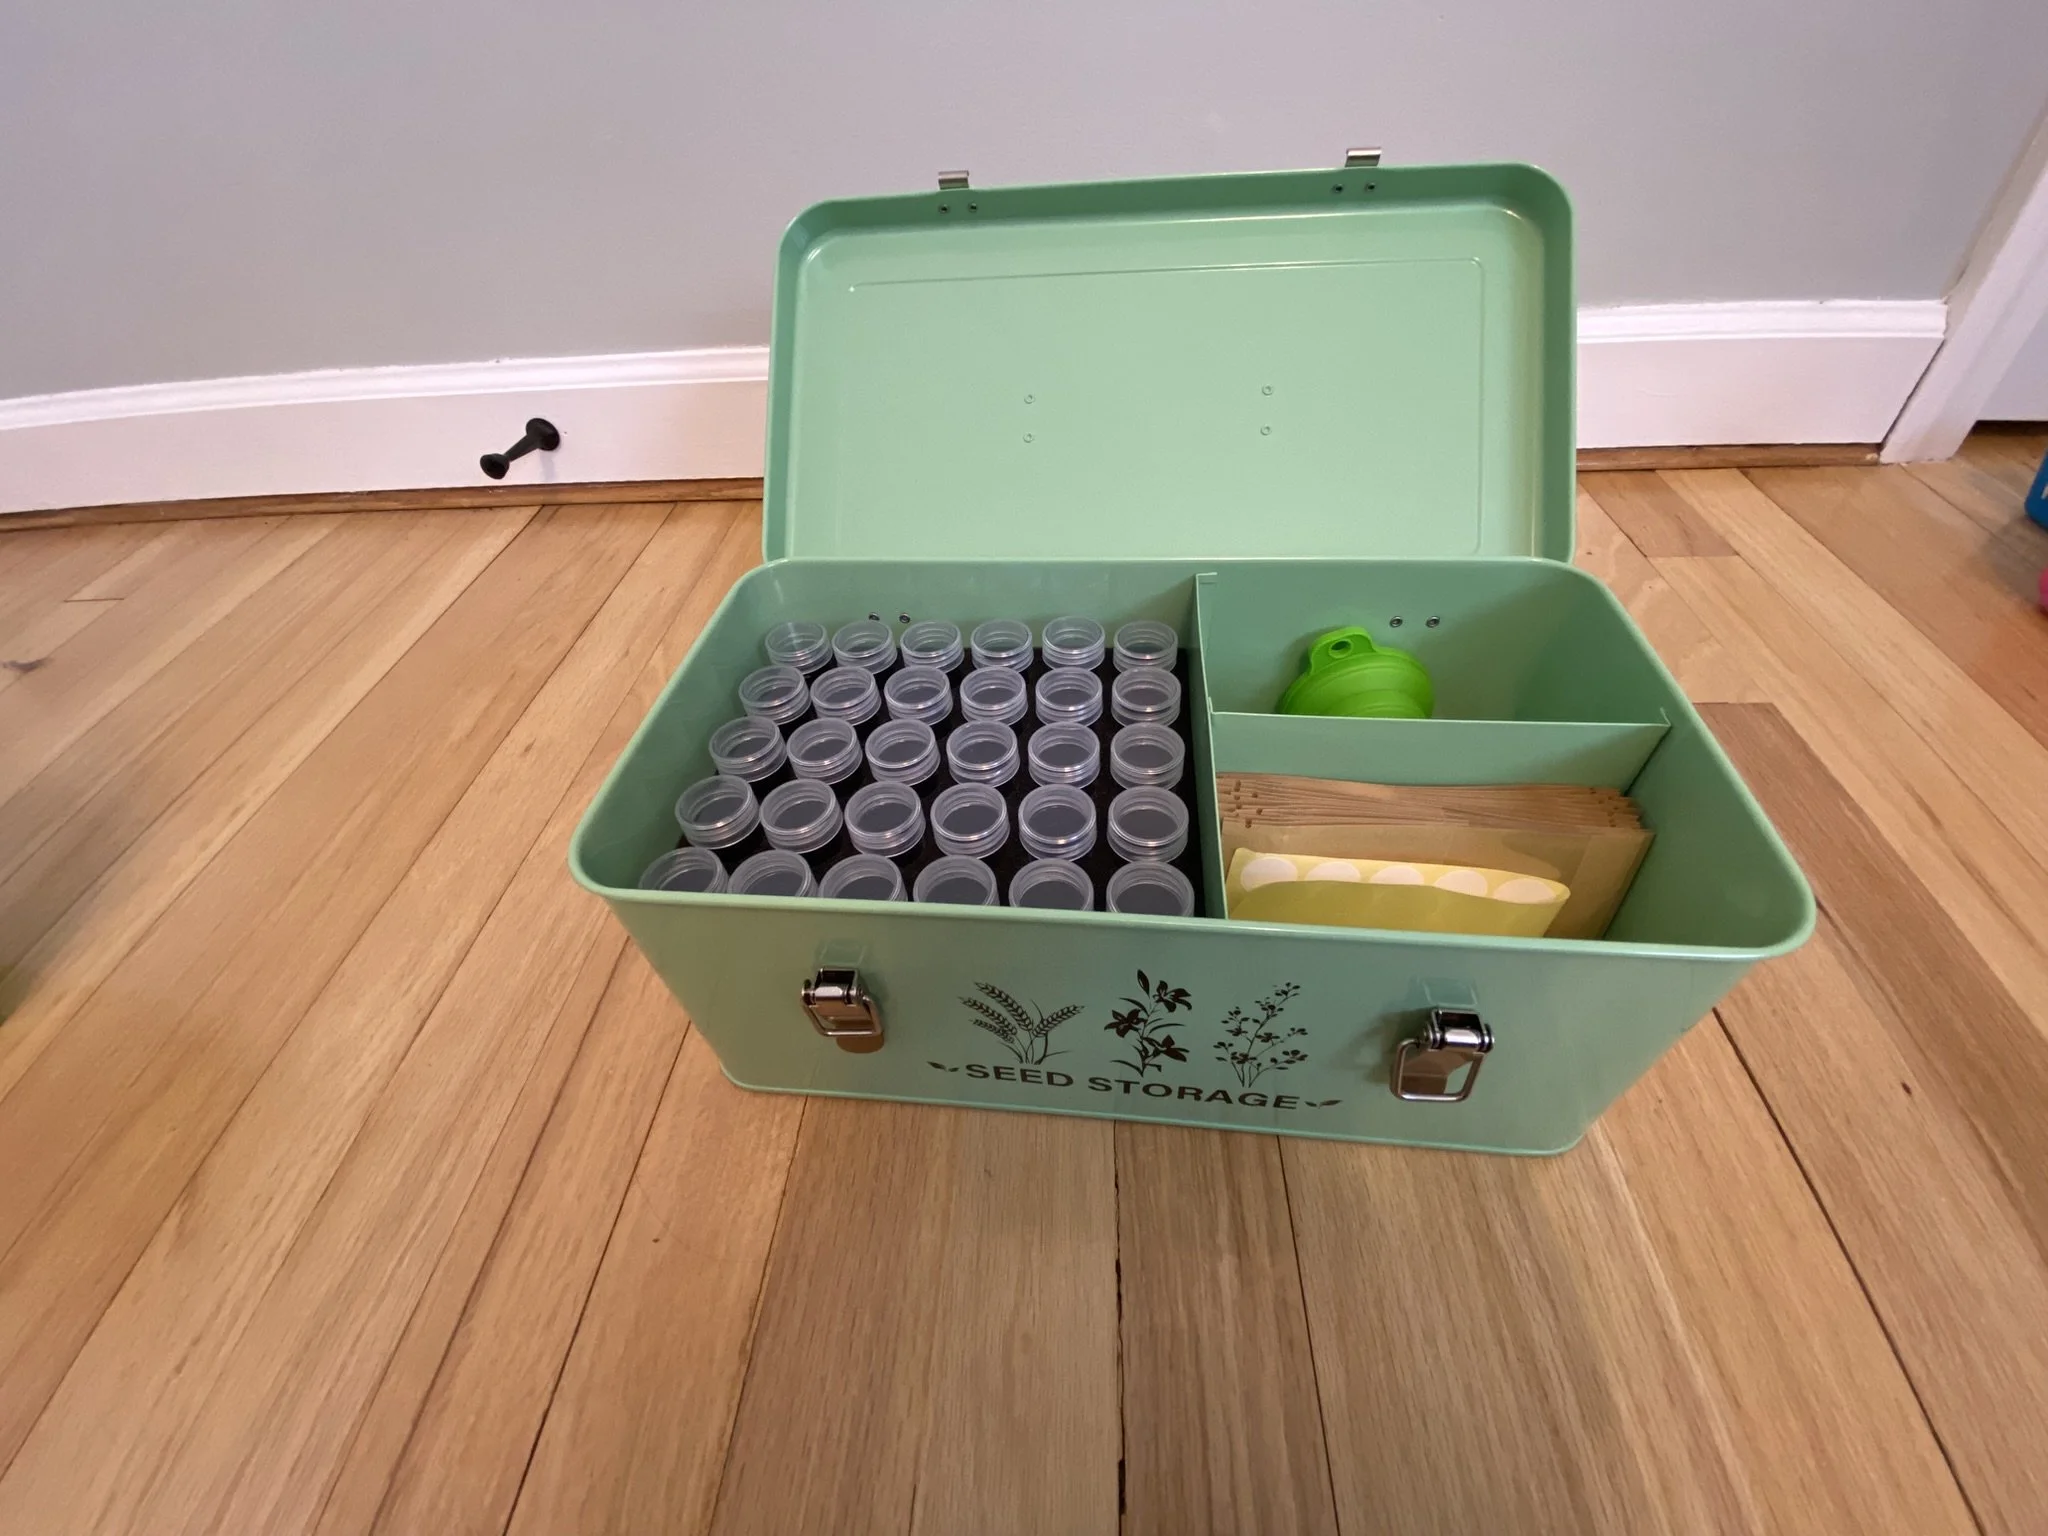
Easy Organization Solution
I recently found a wonderful solution to properly storing all my seeds and keeping everything organized for next season. Metcry gifted me this seed storage box organizer, and I have to say it has been a game-changer. I can store and label 60 different seeds in vials and keep them in an airtight metal tin that prevents light from entering. The kit also includes plant tags, seed storage envelopes, and a funnel for mess-free transfers into the vial. All your essentials, perfectly organized in a single, convenient container!

Storing seeds is more than just a practical step in gardening—it’s a way to ensure that your garden remains filled with the varieties you love, year after year. Plus, it’s a savvy way to save money and cultivate plants that are perfectly suited to your garden’s unique environment.
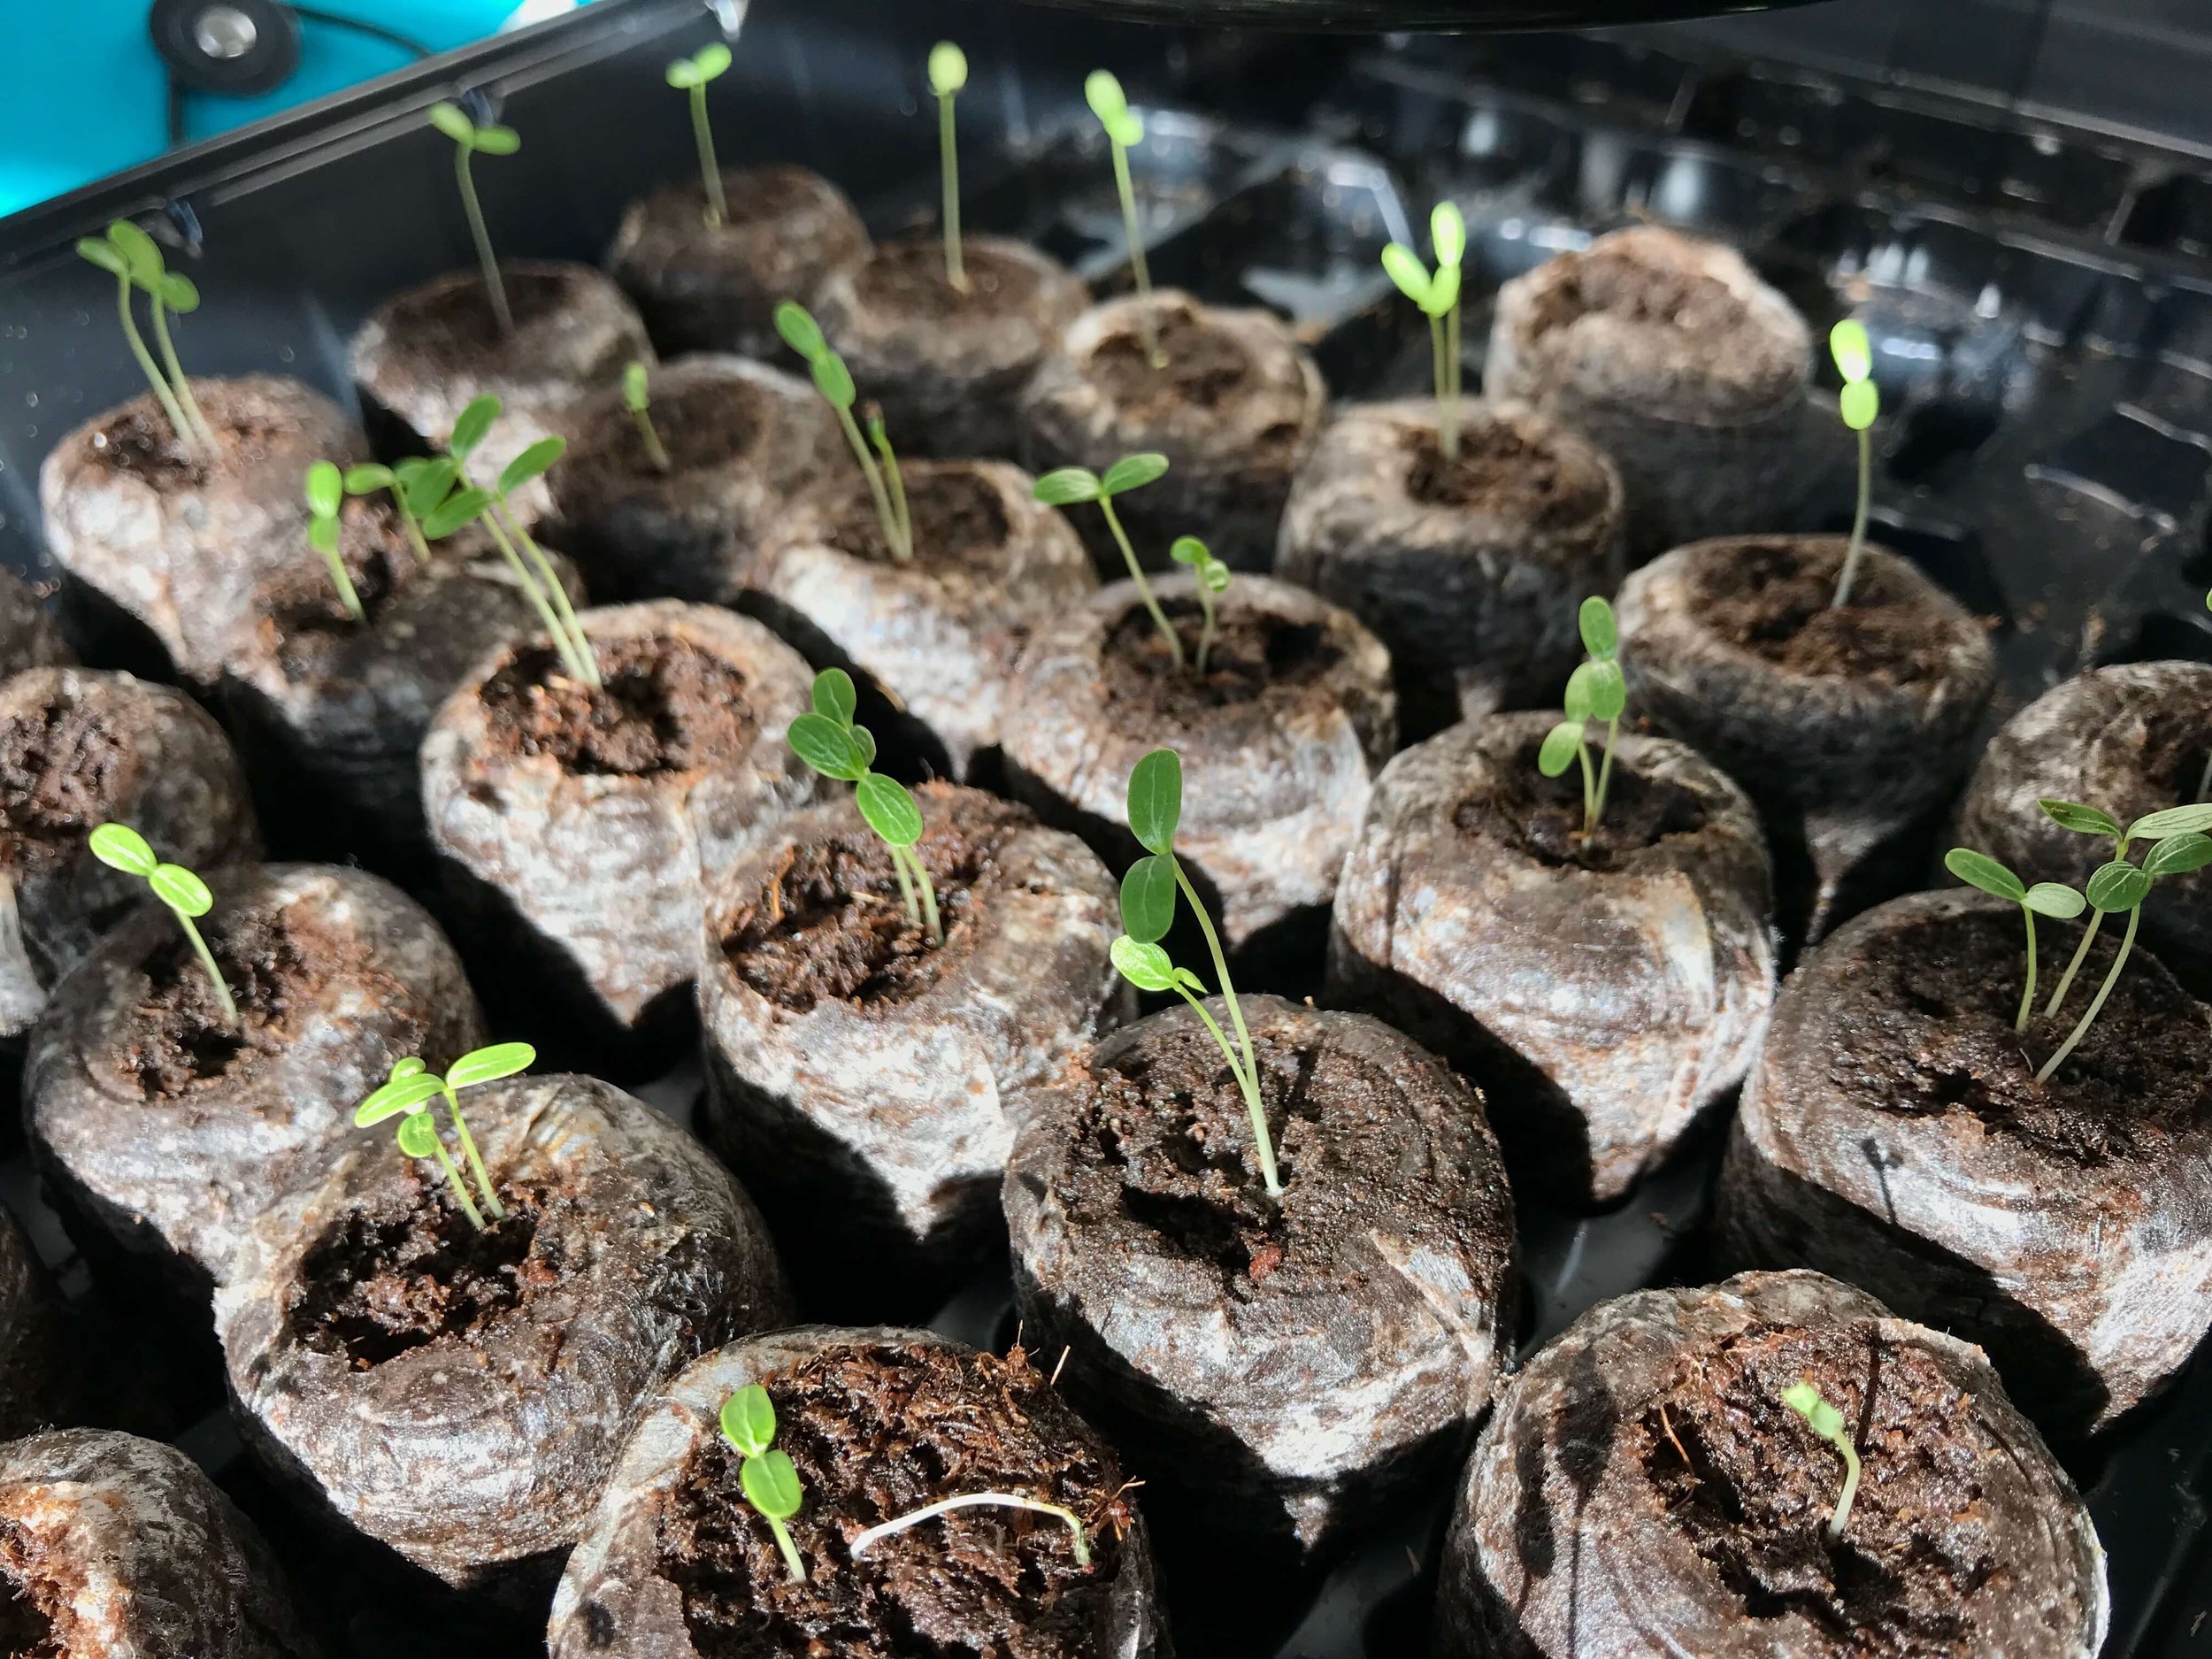
By following these tips—using airtight containers, making sure your seeds are fully dry, and labeling them carefully—you’ll be well on your way to preserving the best of this year’s garden for next year’s planting. And when you see those first seedlings sprouting, you’ll know that a little extra care was well worth the effort.