How to Repot Your Snake Plant in Just a Few Steps
Repotting a Snake Plant
Do you have a snake plant that desperately needs to be repotted, but are too intimidated by the thought of it?
Don't worry - we've got your back! Repotting doesn’t have to be a daunting task; with the right tips and information, it can be quite an entertaining experience.
So grab your gloves and roll up your sleeves – let us show you how to safely and successfully repot your snake plant!
The items listed are accompanied by affiliate links, meaning I earn a small commission if a purchase is made through my links. This has no impact on the cost to the consumer. I link to products this way whenever possible, and it has no bearing on the products I choose to review or recommend.
Benefits of Repotting Your Snake Plant
Snake plants typically do very well with repotting.
When you repot your snake plant on a regular basis, you ensure that its potting soil remains healthy and nourishing – helping promote ideal growing conditions.
If done correctly, your snake plant should come out of the repotting process looking strong and vibrant.
When To Repot A Snake Plant
Sansevieria plants more commonly referred to as snake plants are notoriously easy to take care of making them a popular houseplant.
While they are easy to care for, snake plants can eventually outgrow their containers, leading to the need for a repot.
The best time to repot the mother-in-law’s tongue is during late winter or early spring. This way, it will get the best possible start to its new growing season.
RELATED: 28 Different Sansevieria Varieties
Signs its Time to Repot A Snake Plant
One of the most frequently asked questions about snake plants is how do you know when your snake plant needs repotting?
Well, there are a few indications that it needs to be repotted. Here are a few signs that it is time to repot your snake plant.
When you notice roots protruding from the drainage hole of the pot, it's a clear sign that your plant has exceeded its boundaries and needs to be re-potted.
When soil is dry and hard, unable to retain moisture for long periods of time, it's a surefire indicator that the plant needs repotting.
If the plant looks top-heavy and is about to topple over, or has already fallen over, then this also means it needs a bigger pot.
If your pot or container has sustained any type of cracks or breakages, then it's time to give it a fresh start and repot.
When your plant's growth has come to a halt, it is likely time for repotting - an unmistakable sign that change is required.
Check out snake plants on Etsy!
How Often Should I Repot My Snake Plant?
The answer to this question depends on a few factors such as the size of your pot and how quickly your snake plant is growing.
In general, you should repot your snake plant every 2-3 years or when it starts to outgrow its container.
Just remember that snake plants prefer when their roots are slightly confined so look for the signs of needing to repot rather than doing it routinely.
How to Repot A Snake Plant A Step-By-Step Guide
Now that you know when to repot your snake plant, let's talk about how to repot a snake plant.
Repotting a snake plant is a simple process and can help keep your indoor plant looking healthy and vibrant.
Here are the steps for repotting a snake plant:
Choose your materials
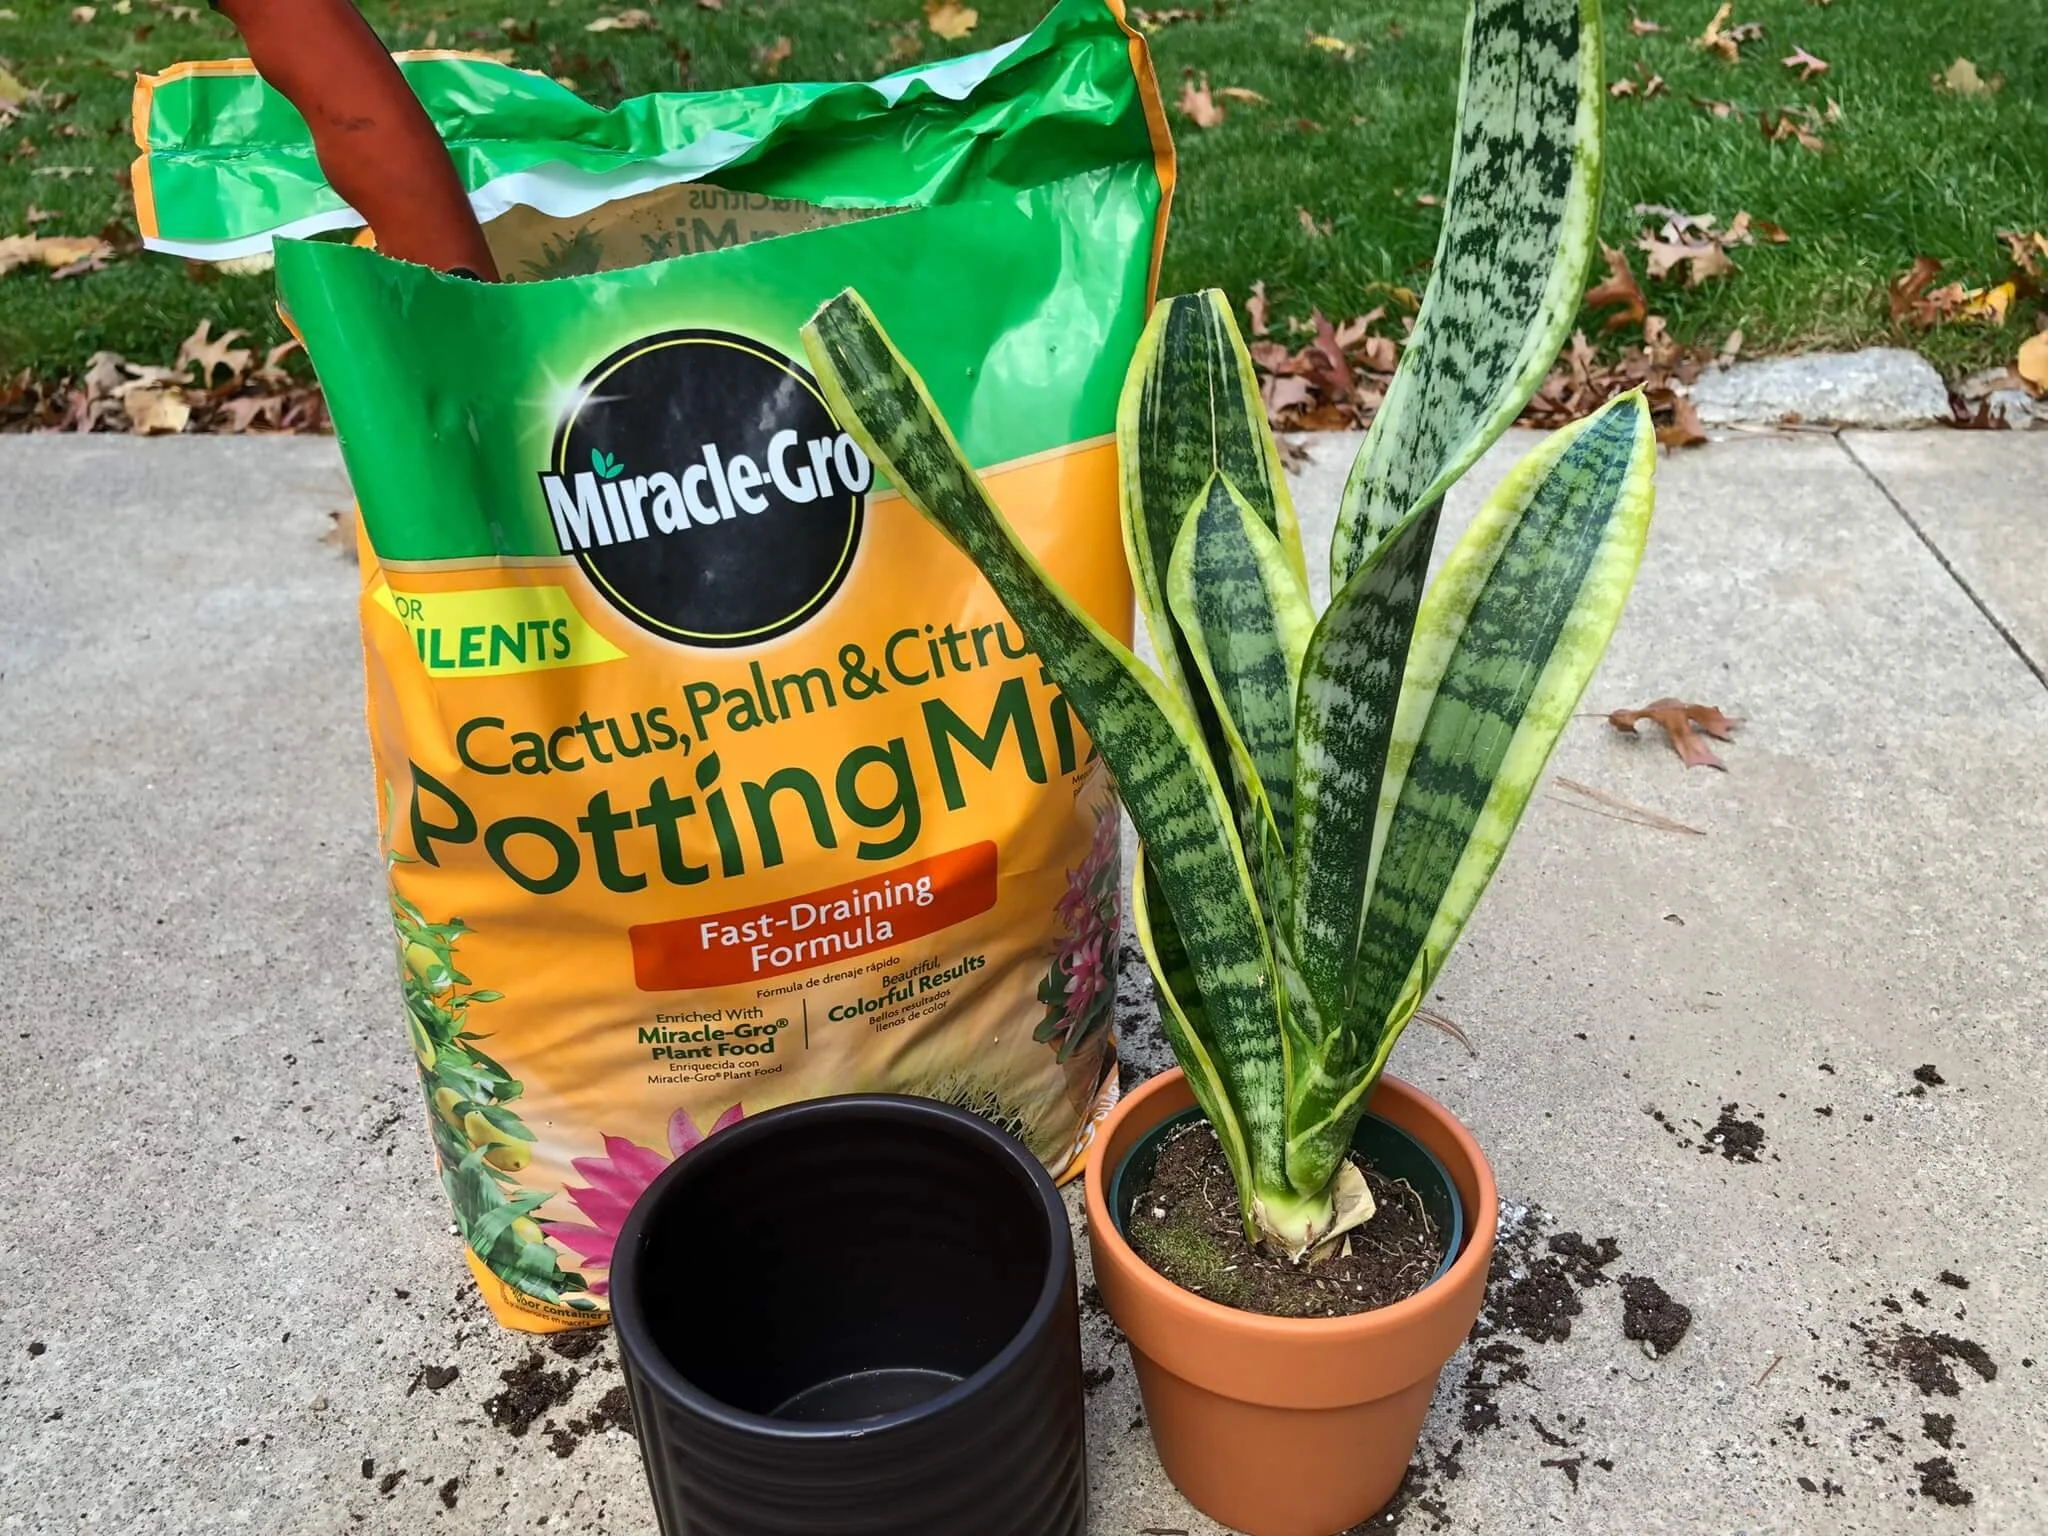
Before you can even begin you need to gather the necessary supplies. You will need a clean pot, potting mix, a hand trowel, gloves, and of course your sansevieria plant.
When it comes to repotting a snake plant, it is important to have the right supplies. You'll need a pot that is at least two inches wider than the current container your snake plant is in. This will give it plenty of room to grow.
Be careful not to choose a pot too big for your snake plant, as this can cause the soil to become waterlogged and lead to root rot.
When selecting the best pot for your snake plant, ensure that it is made of a material that allows water to drain easily.
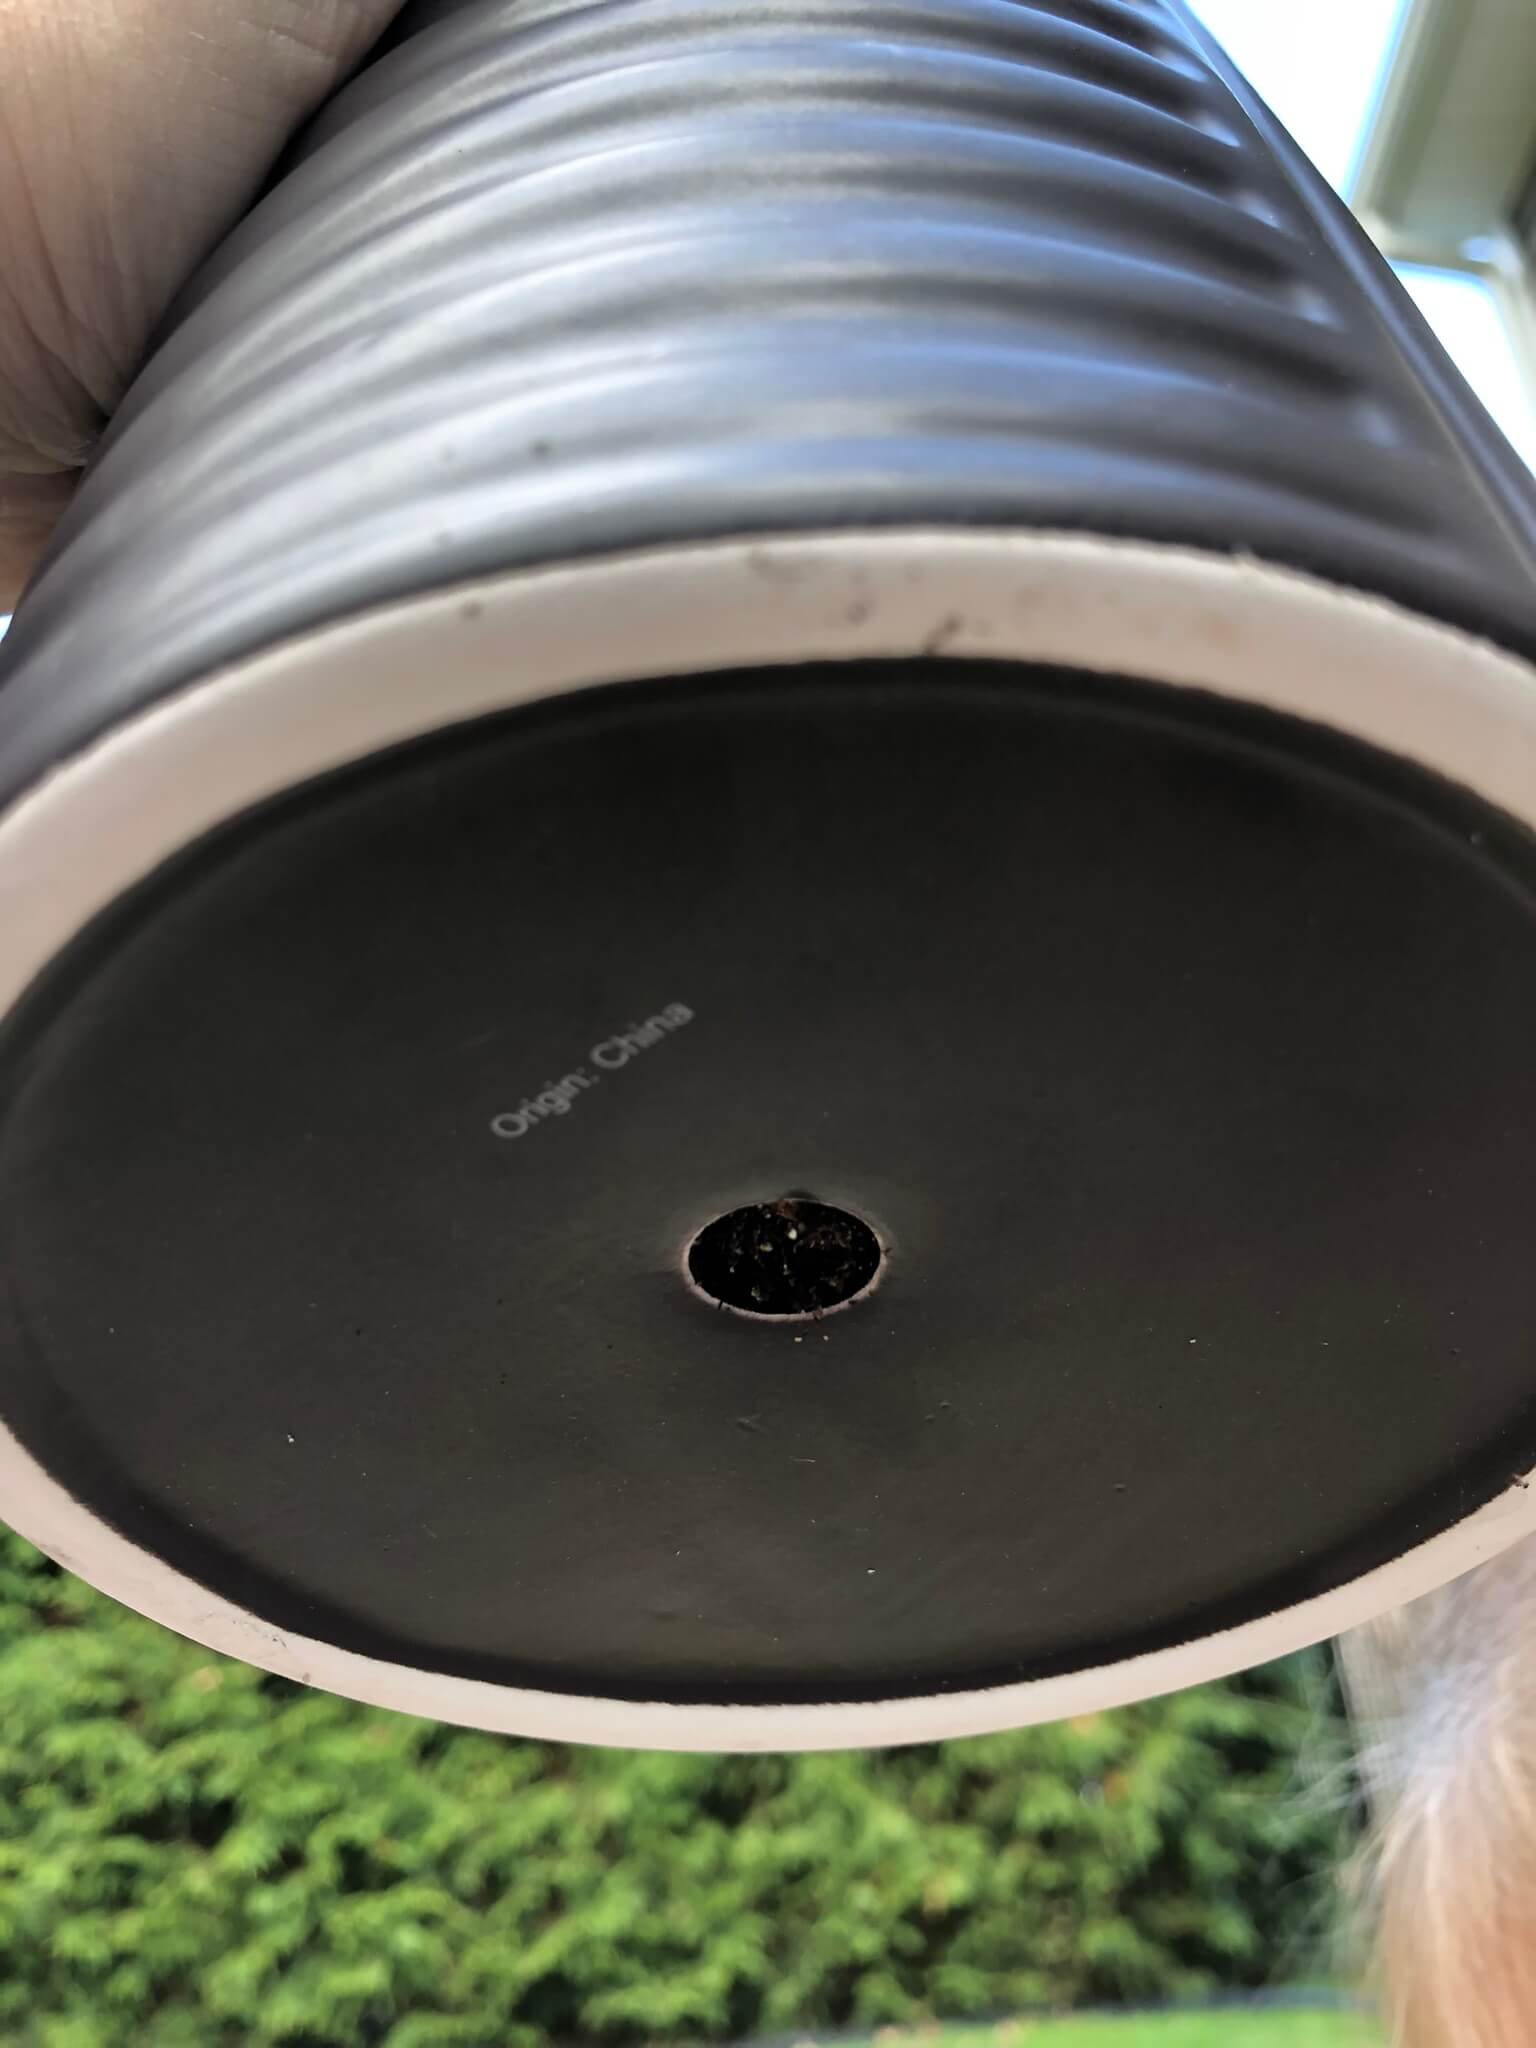
Additionally, make sure the pot has an opening at its base in order to enable proper drainage.
Here is the pot I chose and you can see the drainage hole at the bottom.
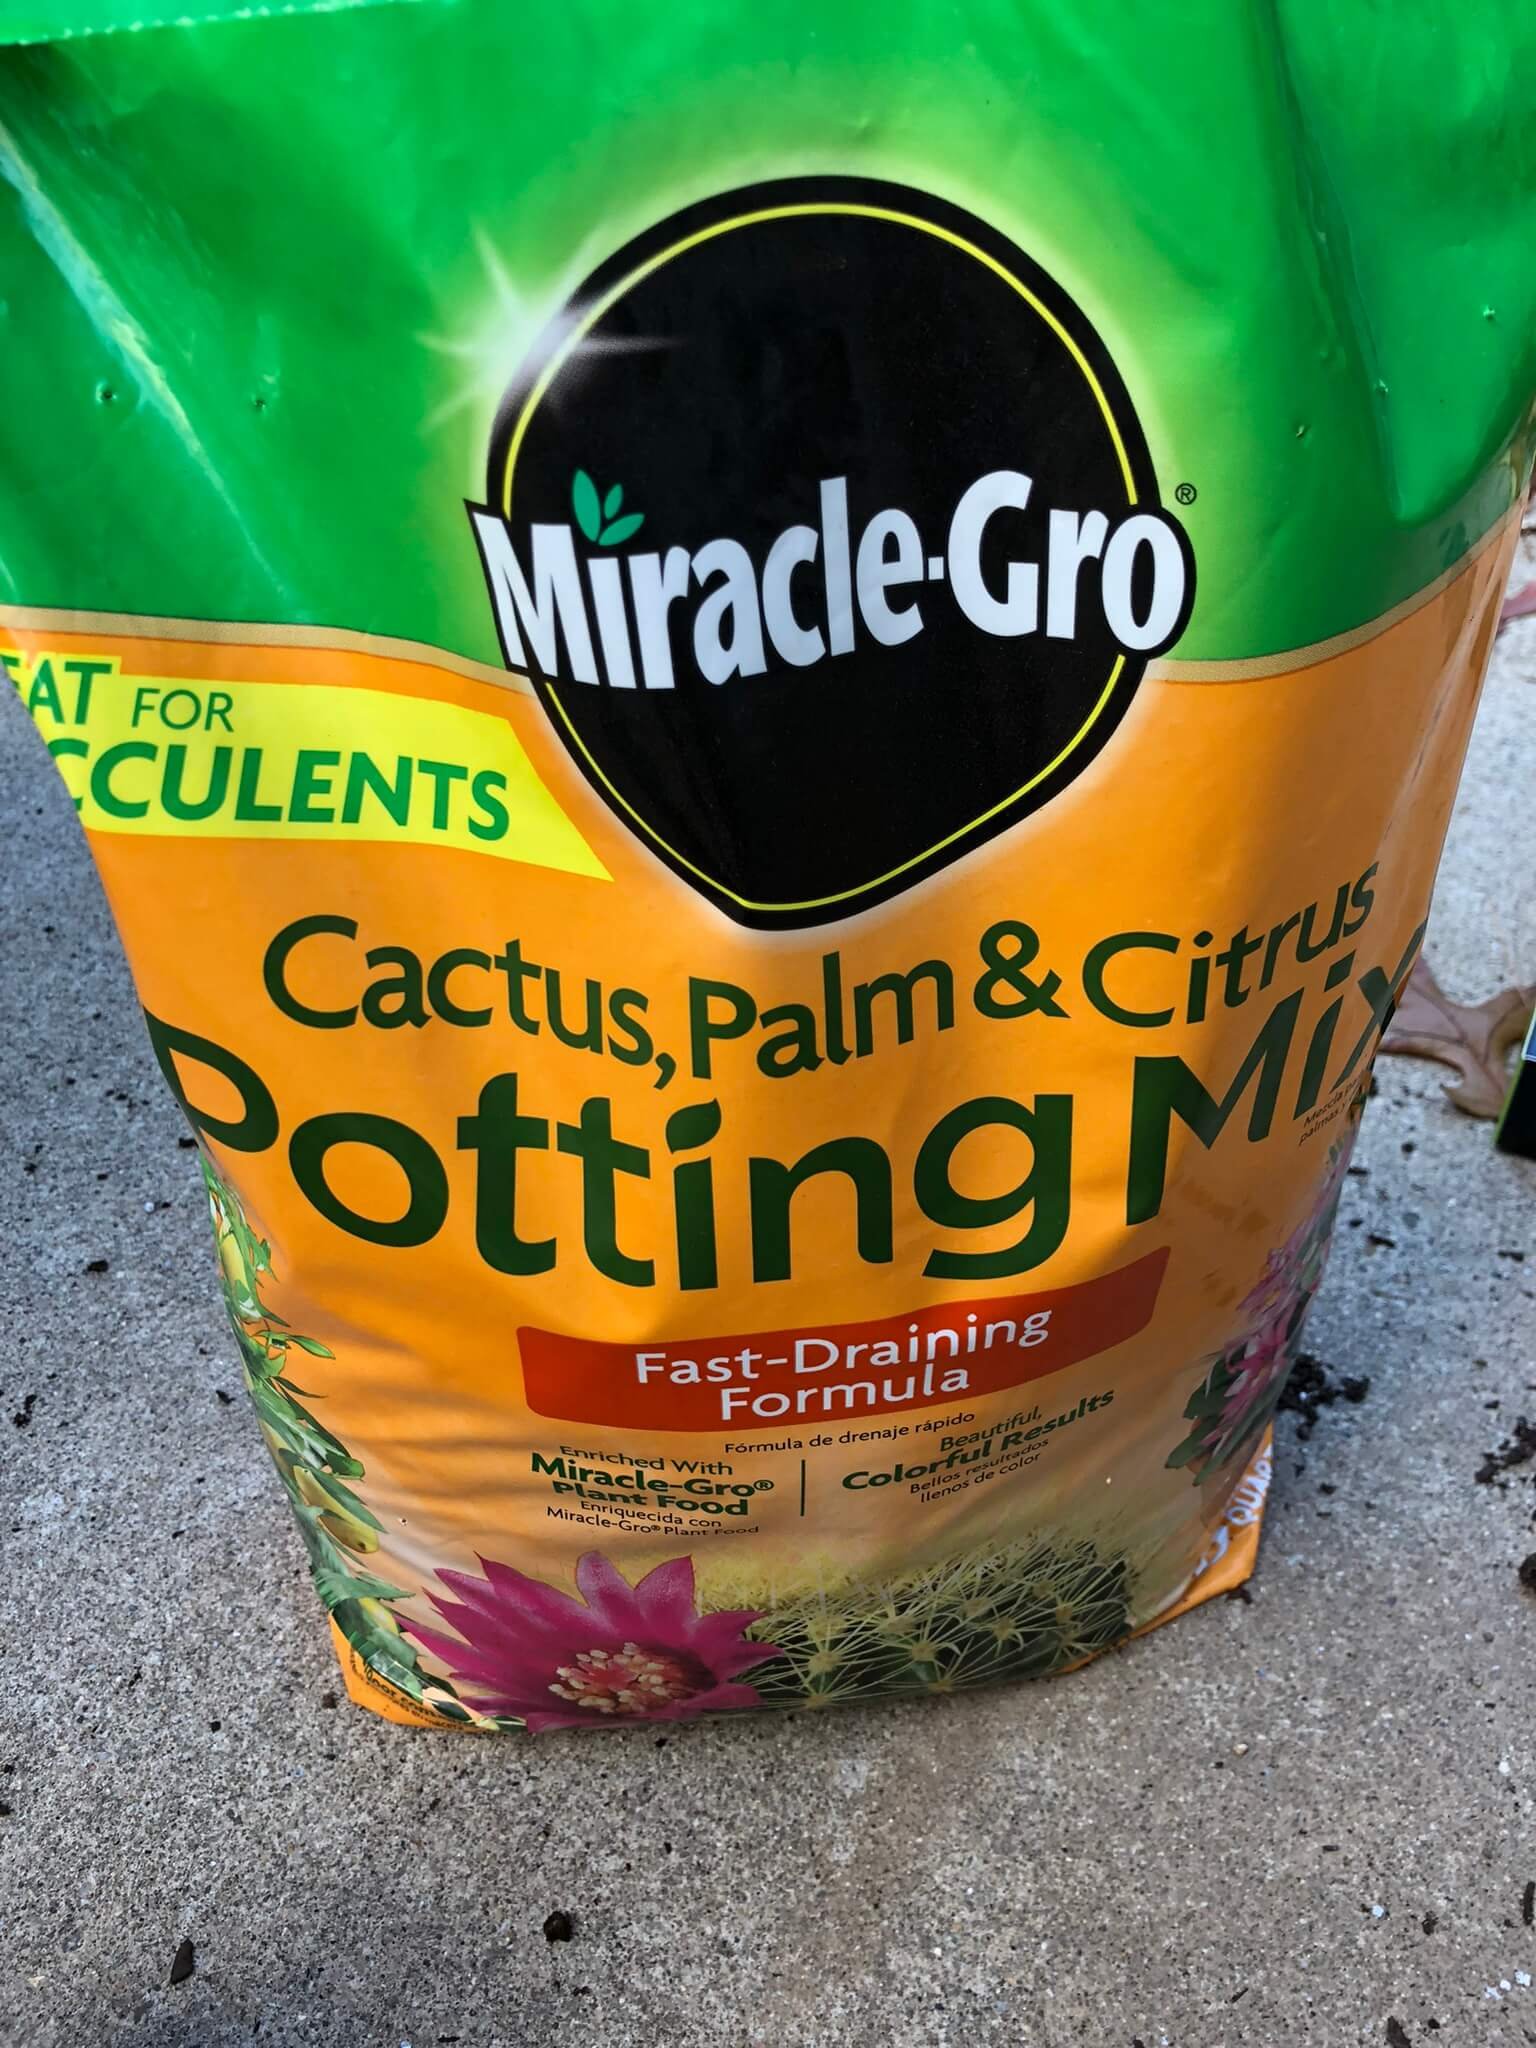
For best results, select a well-draining soil mix for your sansevieria trifasciata. A tropical/cactus mix is ideal and you can even make your own with potting soil, perlite, and coarse sand - these components will ensure the roots are protected against oversoaking whilst also allowing adequate air to circulate around them.
Prepare the pot
Now that your pot and supplies are on-hand, it is time to prepare for the repotting process.
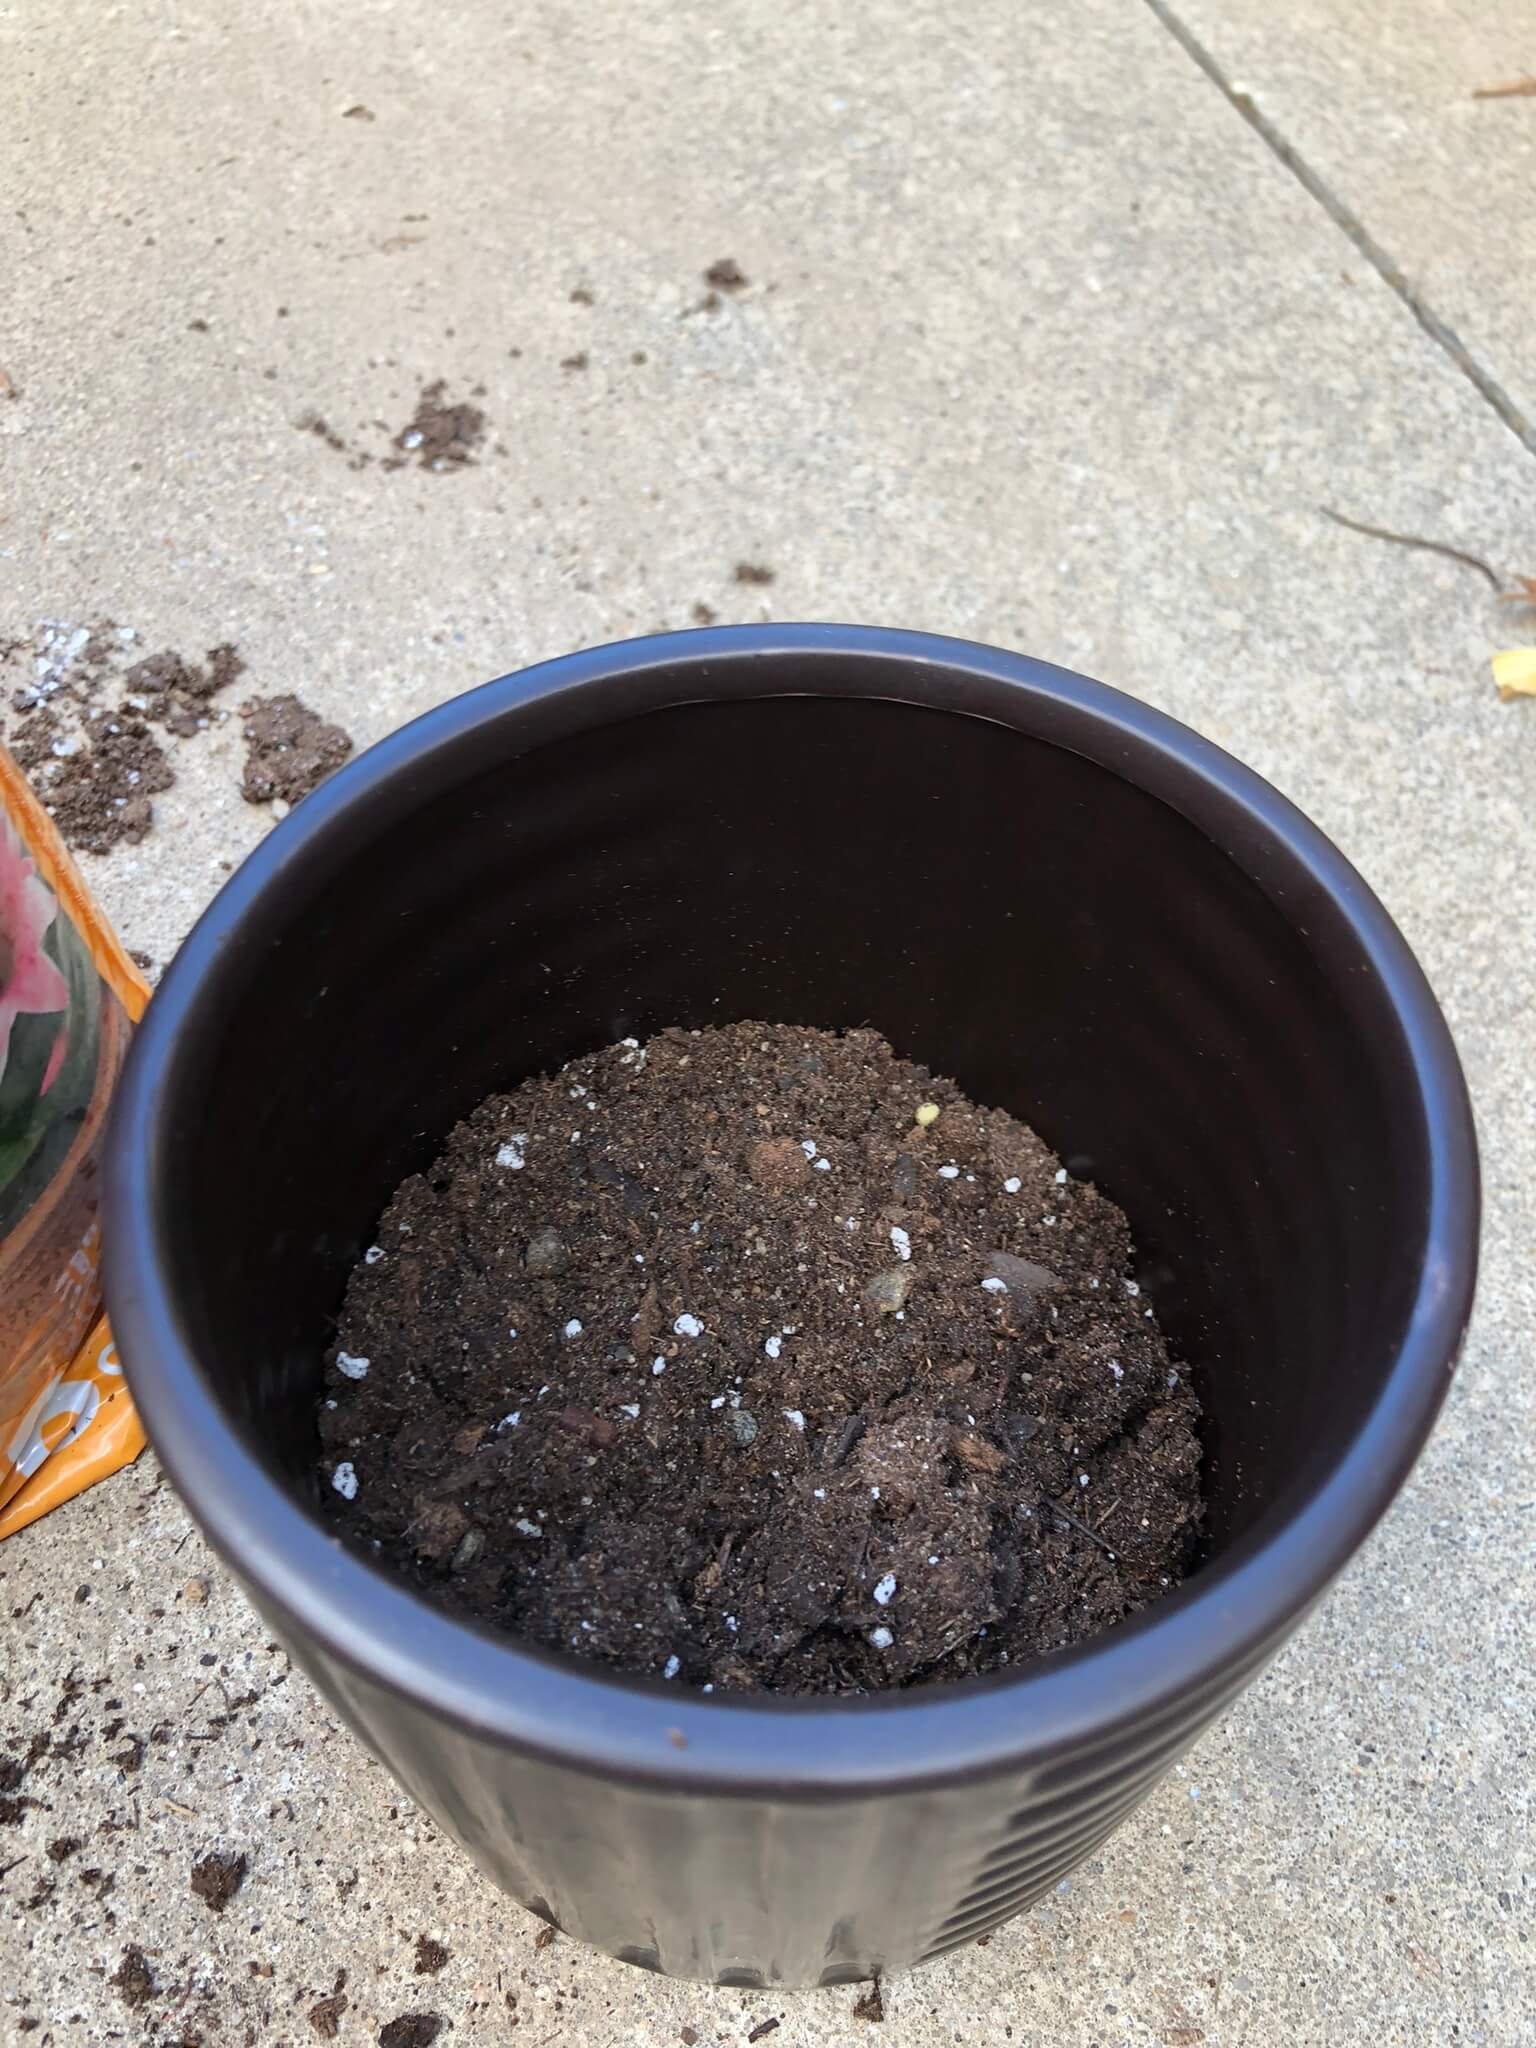
Begin by filling the bottom of the container approximately 1/3 full with the appropriate potting mix; if you worry about soil passing through a drainage hole, add materials such as gravel or pebbles - this will not only support proper drainage but also prevent waterlogged soil buildup in the lower portion of your planter.
Do not pact down the soil this will prevent air pockets from forming. Snake plants like a soil mixture that is light and airy.
I filled my clean pot with potting mix about 1/3 the way full.
Remove the plant from its old pot
Now it is time to remove the snake plant from its current container.
To do this, turn the pot upside down and gently tap the bottom of the pot until the root ball slides out of the container.
The root system should come out readily with light pressure. Do not grab the snake plant leaves. This can damage the plant.
If necessary, use your hand trowel around the edges of the pot to loosen the soil and help slide it out. The root ball needs to be handled with care.
Examine the roots
Once you have removed the plant from its pot, it is time to inspect the roots.
If they are overly congested and tightly wound, gently loosen them with your fingers or scissors. This will allow for better growth and health.
If the roots are mushy or have dark spots that is root rot and that should be pruned/cut away before transplanting your snake plant.
You can see that the snake plant’s root are healthy, no signs of rot but they are crowded and rootbound.
Replant the snake plant
For a successful transplant experience, gently set your Sansevieria's rootball into the new pot making sure that it sits firmly into place at its original depth.
Top it off with more fresh soil and firmly press down to make sure that everything is stable.
Here is my newly repotted snake plant. It is happy and thriving!
Water your snake plant
Make sure to water your newly potted snake plant thoroughly but be careful not to overwater as this could cause root rot or other damage to your beloved plant!
Snake Plant Care After Repotting
Now that you have successfully repotted your snake plant, it is important to give it the proper care to help it thrive.
Make sure to place your snake plant in a location where it will receive indirect sunlight and make sure not to overwater. You only need to water when the soil is dry to the touch.
When first transplanting a snake plant, it is best to hold off from fertilizing the plant. Allow it some time to settle into the new environment and soil before providing it with added nutrients.
Finally, be sure to regularly inspect your snake plant for signs of stress and disease.
If you notice any yellowing or wilting leaves, promptly remove them to prevent the spread of the disease.
With a bit of patience and dedication, it won’t be long before you have a healthy, thriving snake plant once again!
Snake Plant Repotting FAQs
Why should I repot snake plants?
Repotting is an essential part of proper care for a snake plant as it helps to promote healthy growth and prevent root rot.
Eventually, the roots will outgrow its pot and it will need to be repotted in a larger pot.
Do snake plants like to be crowded?
Absolutely! Snake plants actually prefer close quarters, so it's alright if their roots are a bit cramped.
Just make sure that the container isn't too small for them and prevent any of their roots from protruding out of their pot.
What is the best soil for snake plants?
For a sansevieria plant to flourish, they require a type of potting soil that is airy and well-draining.
Succulent soil or cactus soil mixes are an ideal option for achieving this goal!
Should you water a snake plant after repotting?
Yes, water your newly potted snake plant thoroughly but be careful not to overwater as this could cause root rot.
Allow the soil to dry out between watering.
Can you plant two snake plants together?
Yes, you can plant two snake plants together in the same container. They prefer to be slightly crowded and may even encourage growth!
However, make sure your pot is large enough to accommodate them both.
Additionally, leave plenty of space around the roots when repotting so they have room to grow.
Can you repot a snake plant in fall or winter?
Although you can repot your snake plant during the fall or winter, it is not recommended due to the fact that they naturally enter a dormant period at this time.
For optimum results and for better growth, wait until early spring when your snake plant will have more energy to re-acclimate itself in its new environment.
How to Repot a Snake Plant
Repotting your growing snake plant is a great way to promote healthy growth and prevent root rot.
Following the steps outlined in this article will ensure that you have successfully repotted your Sansevieria with minimal stress or damage to its roots.
Be sure to water thoroughly, but not too much, after transplanting, and make sure it’s placed in an area of indirect light.
Additionally, don't forget to inspect for signs of disease regularly.
With proper care and attention, you can be confident that your beloved Snake plant will continue to thrive for many years to come!


